 Tasodrums

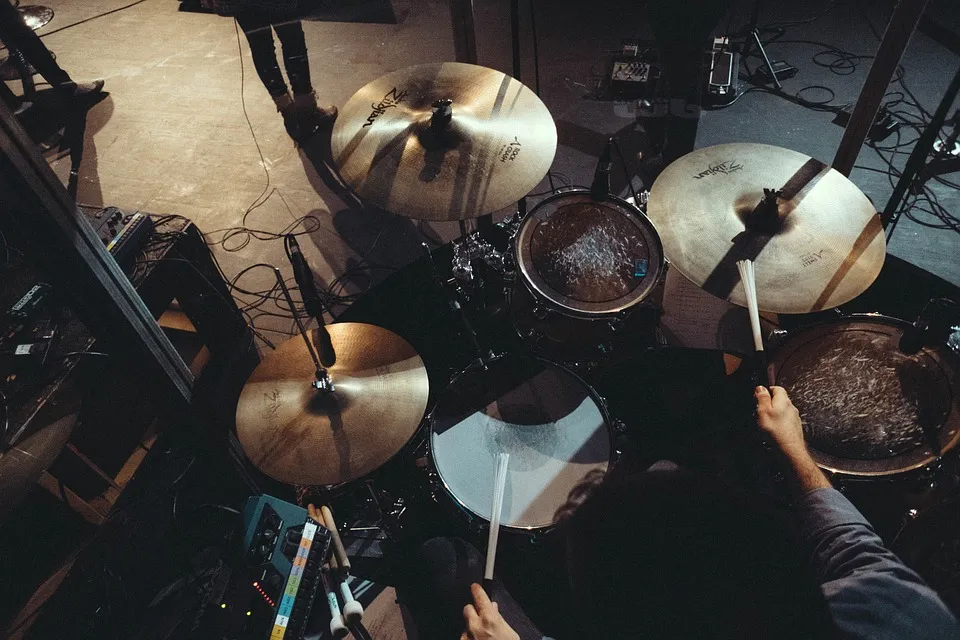
Drum kit setup
Focusing on an ergonomic playing position helps you avoid pain and make use of your natural range of motion. When every part of the kit is in the best spot for you, playing is simply easier.
There's no single right answer. Everyone finds a setup that works for them as they go along, as long as they remember to pay attention to it regularly. There is, however, a "golden middle ground" and a few basic settings that generally make a drum kit work better for the player.
Pay attention to these if you're setting up a kit for your child too, so that their playing position is as ergonomic as possible right from the start.
The parts of a drum kit
In the picture below you can see the most common setup. A standard (5-piece) drum kit is made up of these instruments.
Often, though, drummers build their kit (especially an acoustic one) little by little into their own thing, taking away or adding drums, and for example electronic pads too.
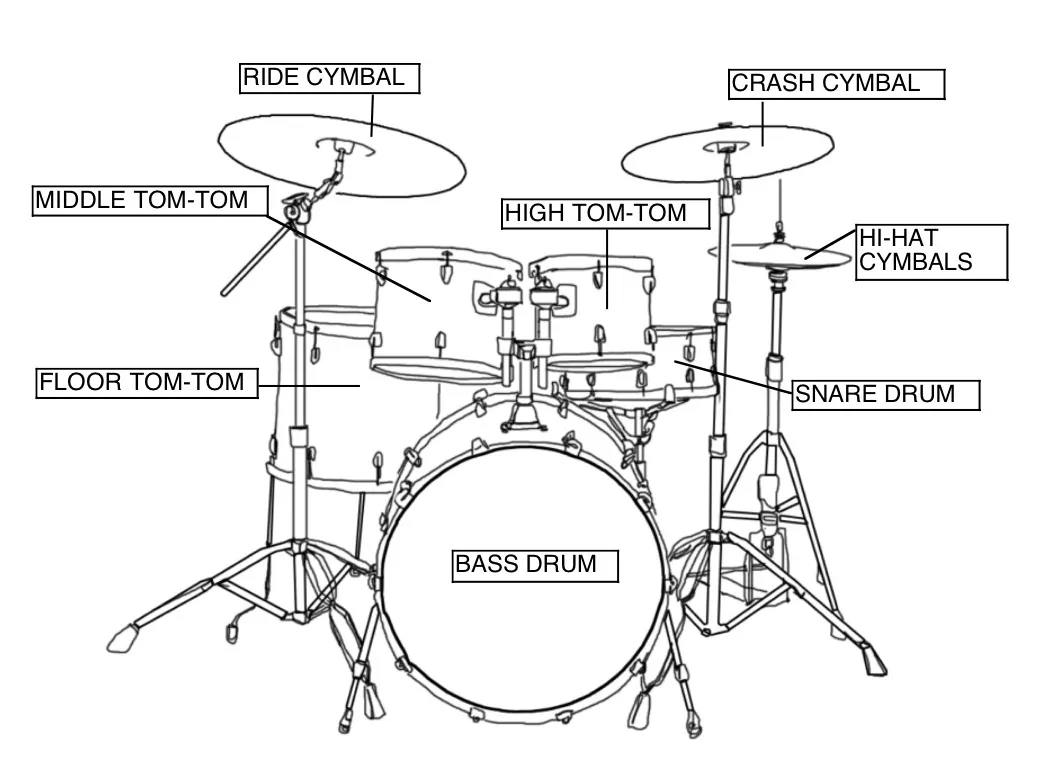
- Snare drum - Snare
- Bass drum - Kick
- High tom & Mid Tom - Rack toms / Tom-toms / Toms
- Floor tom - Floor tom
- Hi-hat cymbals - Hi-hat
- Ride cymbal - Ride
- Crash cymbal - Crash
How do I set up a drum kit for a lefty?
If you're left-handed, you can set up your kit in a few different ways:
1. A right-handed kit, where you learn to play the hi-hat with your left hand and the bass drum with your right foot.
2. A left-handed kit, where you flip the kit into a mirror image, so the hi-hat is on your right side.
If you're willing to put in a bit more work learning to play on a right-handed kit, this might be the better option, since you get to play "open handed", which has lots of benefits. On top of that, almost everywhere you get to play drums, the kit is set up for a right-handed player. You won't necessarily have the time or the chance to take the kit apart and put it back together, so it's easier for you if you've learned to play the same way as most drummers.
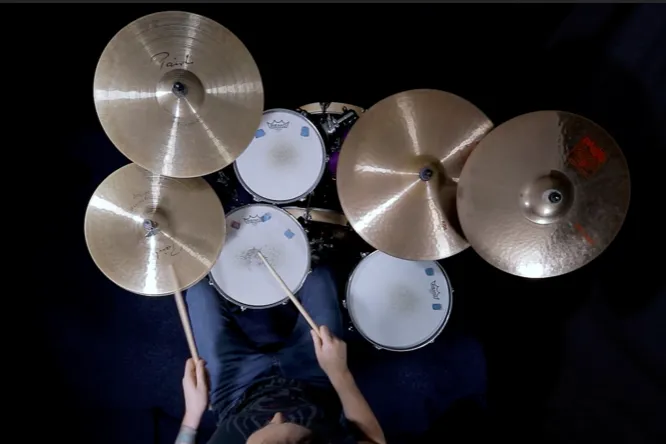
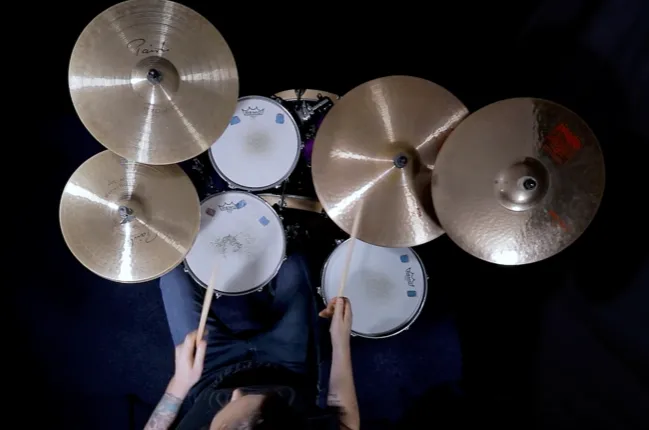
You can make the setup easier by moving the ride, which is played with the right hand in the second picture, above the hi-hat or even next to it, so you can play the ride with your left hand too.
Drum throne
The height of the drum throne and its distance from the pedals matter most for your balance and for using the pedals. Especially in metal, when you're playing with both feet, a badly set throne is often the reason you just can't seem to get the results you want, even though you practice.
Buy a proper drum throne right from the start. Don't just grab any kitchen chair or office chair for the kit.
Two rules of thumb for the setup are:
1. The throne is high enough that your knees are at least at a 90-degree angle or slightly more, meaning your thighs slope down a little from your hips toward your knees. That way you don't have to lift your leg for the pedal strokes.
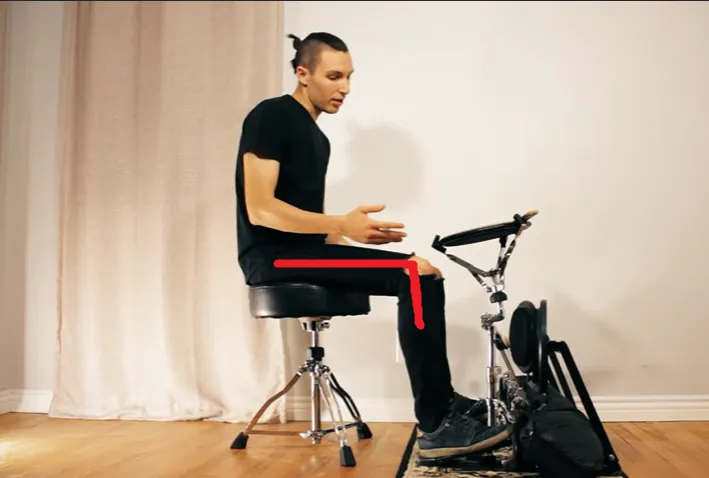
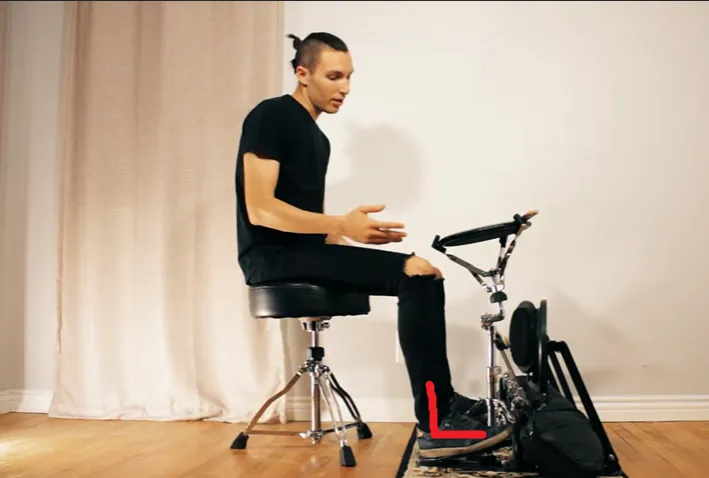
2. The throne has to be far enough from the pedals that your ankle is in front of your knee. Otherwise the angle of your ankle is too small, you have too little room to move, and sitting too close makes playing a lot harder, especially when playing heel down. Don't go too far from the kit either, though.
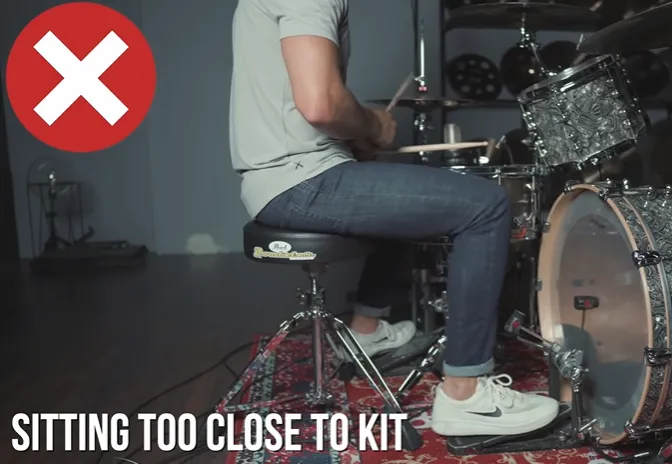
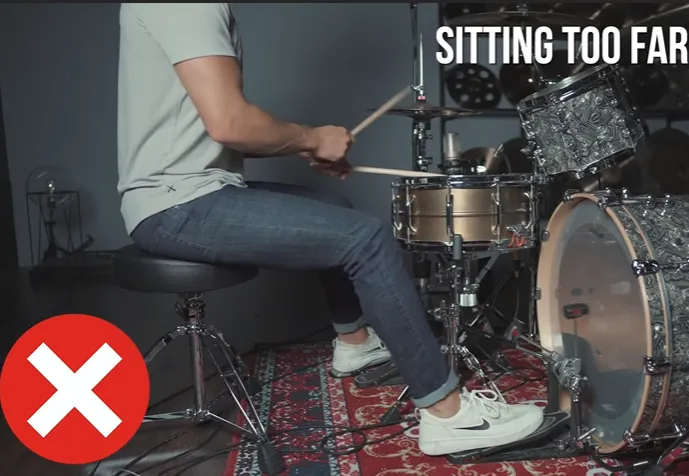
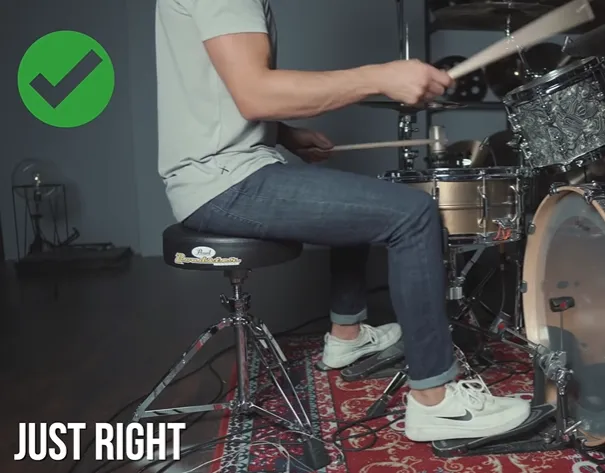
These are example settings and recommendations, but if you're really tall or have long legs, you might need to sit higher or a bit farther away.
Bass drum
It's a good idea to put the bass drum in place as soon as the throne is set to the right height.
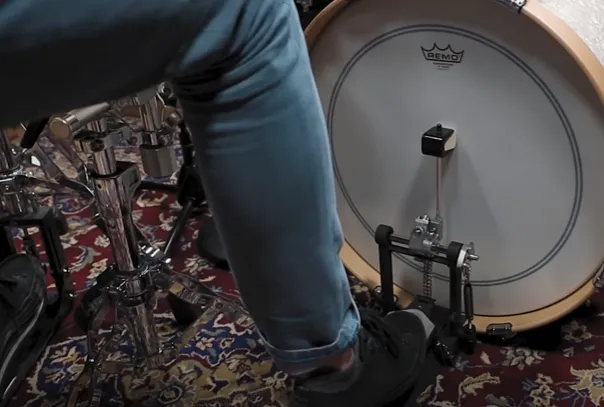
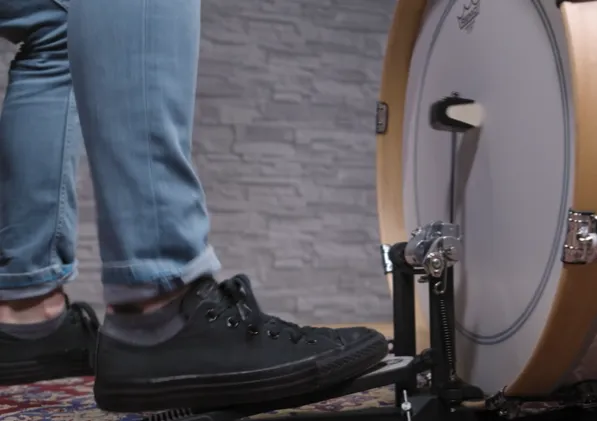
Put the bass drum in front of your right foot when you set up a right-handed kit. When you set up a left-handed kit, the bass drum goes in front of your left foot.
You'll find the best spot for the bass drum when you set the throne to the right height and put your foot down so that you can lift and move it naturally. Put the pedal there.
Snare drum
The snare goes between your legs, usually flat. Some people also tilt it slightly toward or away from themselves, depending on their grip. The basic rule for snare height is that the hoop, meaning the metal (or on some snares wooden) edge = rim, is at about belt height. Height is still a matter of opinion, though, and you'll see all kinds of heights. Find the best option for you.
One fairly common rule of thumb is also that the top of the throne is level with the bottom of the snare. Of course this depends on the player's size, the depth of the snare and so on, but you can try this option too.
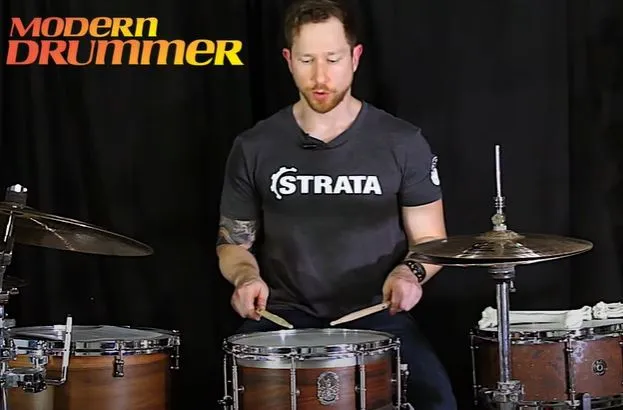
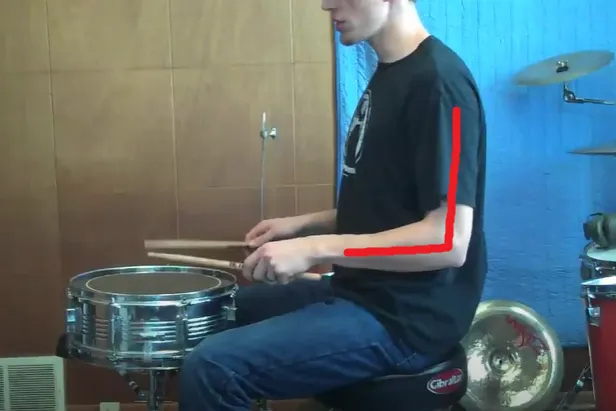
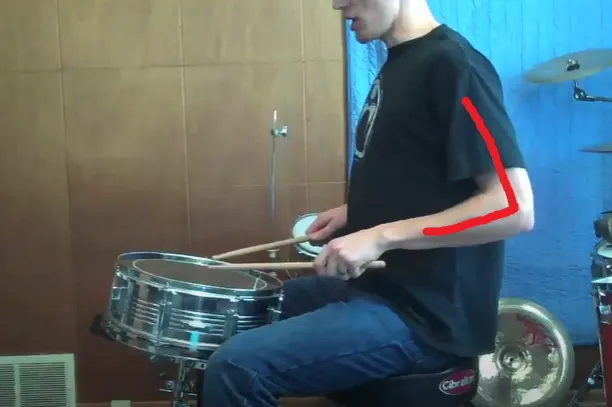
The snare shouldn't be right in your lap. Move it a bit farther forward so your legs have more room to move and you don't have to pull your arms back.
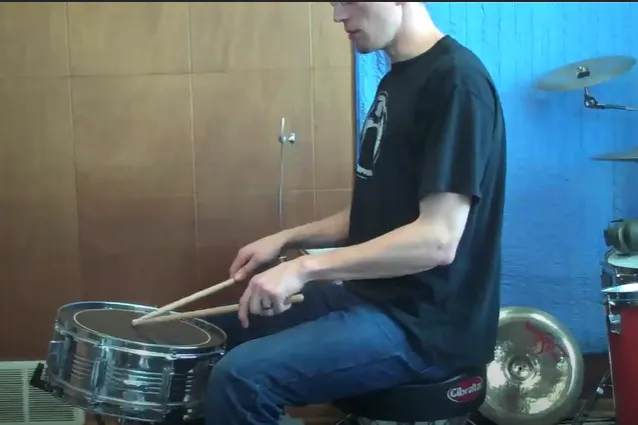
Don't set the snare so low that you hit your leg while playing, or that your hand ends up resting on your leg when you're not playing. That also makes rimshots hard to play.
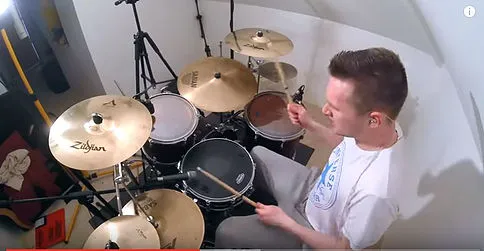
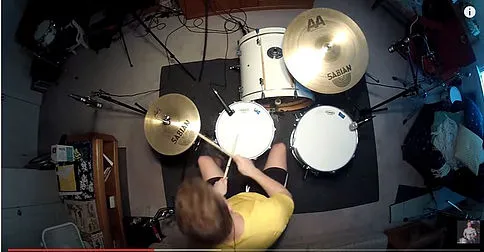
Check out the video that most of these pictures are from.
Hi-hat
On a standard kit, the hi-hat goes on the player's left side. When you build a left-handed kit, the hi-hat is mirrored to the player's right side. The key things in setting up the hi-hat are height and position
The hi-hat shouldn't be too low, so there's enough room between the hi-hat and the snare. The hi-hat doesn't need to be super high either, because then the trip to the snare and back to the hi-hat is unnecessarily long, and you might have to keep your arm tense while playing, which isn't ideal. Punk drummers in particular often set the hi-hat really high, but mostly for looks.
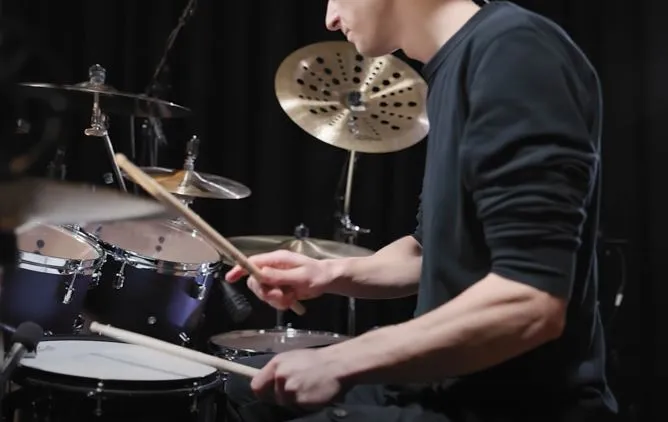
Do the same test as with the bass drum: see where your left foot naturally wants to be and put the pedal there. As a rule of thumb for height, there's often about a hand span from the snare hoop to the bottom of the hi-hat.
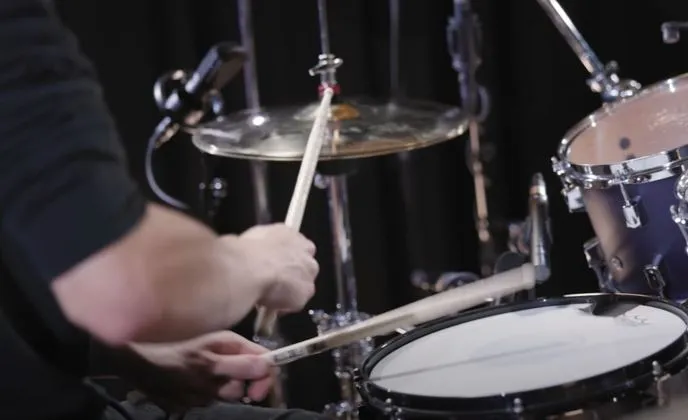
Toms (high tom, mid tom, floor tom)
On acoustic kits, the size of the bass drum and the depth of the toms make a big difference in your setup options. On electronic drums, it's the rack and the adjustment options.
Rack toms should ideally be set as low and as flat as possible.
Deep toms don't let a short player set them at an ideal angle. Instead they easily end up like "Mickey Mouse ears", too upright and pointing at the drummer. Older kits, especially from the '80s and '90s, often have deeper toms, so kits from that era aren't a good option for a child or a short player.
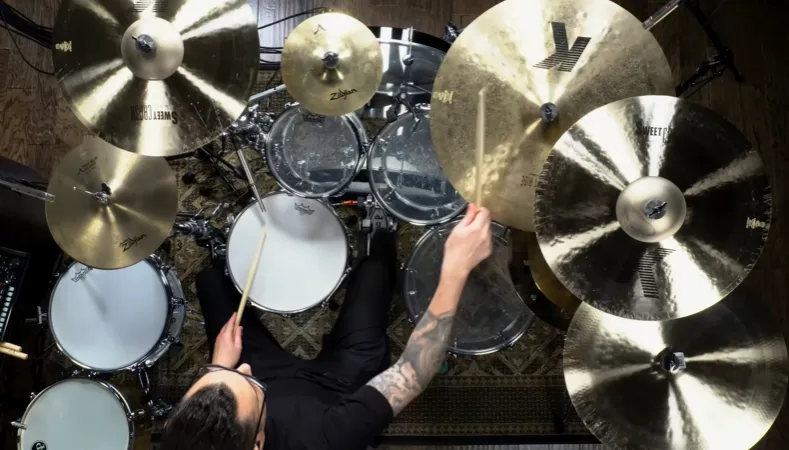
Compare the position of the toms and the player's wrist in these pictures.
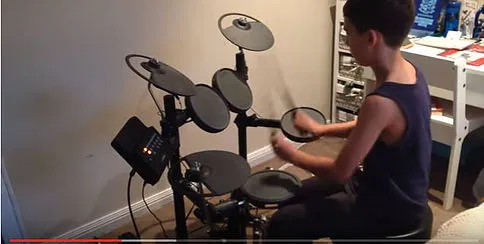
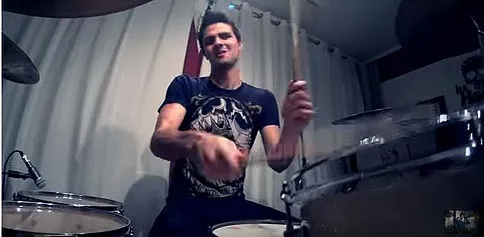
The floor tom is usually on the player's right side, at the same height as the snare.
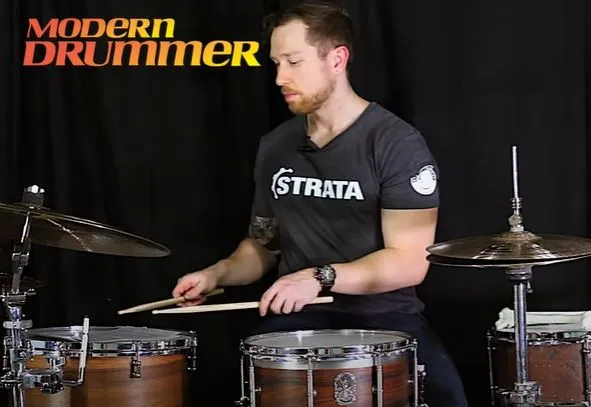
Cymbals (crash, ride, splash, china..)
The points above about natural range of motion and an ergonomic sitting position naturally apply to cymbals too.
A good starting point is that the cymbals are close enough that you don't have to reach for them, and low enough that playing them is easy and natural.
The cymbal setup is the part of the drum kit that changes and evolves the most. It varies a lot depending on what cymbals are in the kit and what feels best to each player. So here you get to do your own research until you find the setup that suits you best.
Cymbals are often flat or tilted just slightly toward the player.

Recap: the most important points when setting up your kit
Throne: At least high enough that your knees are lower than your hips, and your ankles are in front of your knees.
Bass drum: In front of your right foot, or in front of your left foot on a left-handed kit.
Snare: Between your legs. Remember to pay attention to your stroke position and adjust the height to match the throne height.
Hi-hat: To the left of the snare from the player's view, or to the right on a left-handed kit. Pay attention to its height compared to the snare. Place the hi-hat so the pedal is in a natural spot for your foot.
Toms: As flat as possible. The floor tom is best at the same level as the snare.
Cymbals: Fairly flat and within easy reach, so your strokes come naturally
I hope this post helps you set up your drum kit, especially if you're a beginner. Come back to these points whenever you need to, next time you sit down behind the kit.