 Tasodrums

Tune your drums one drum at a time
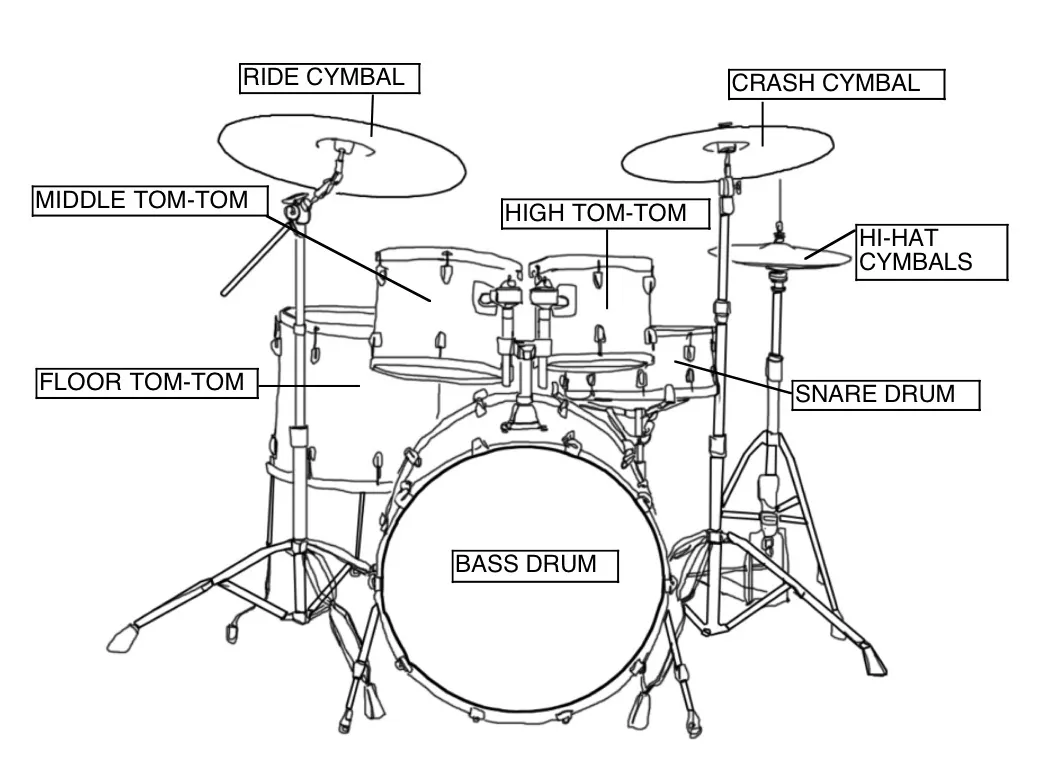
Tune the drums for example in this order:
- rack tom (high tom)
- second rack tom (mid tom)
- floor tom
- bass drum
- snare drum
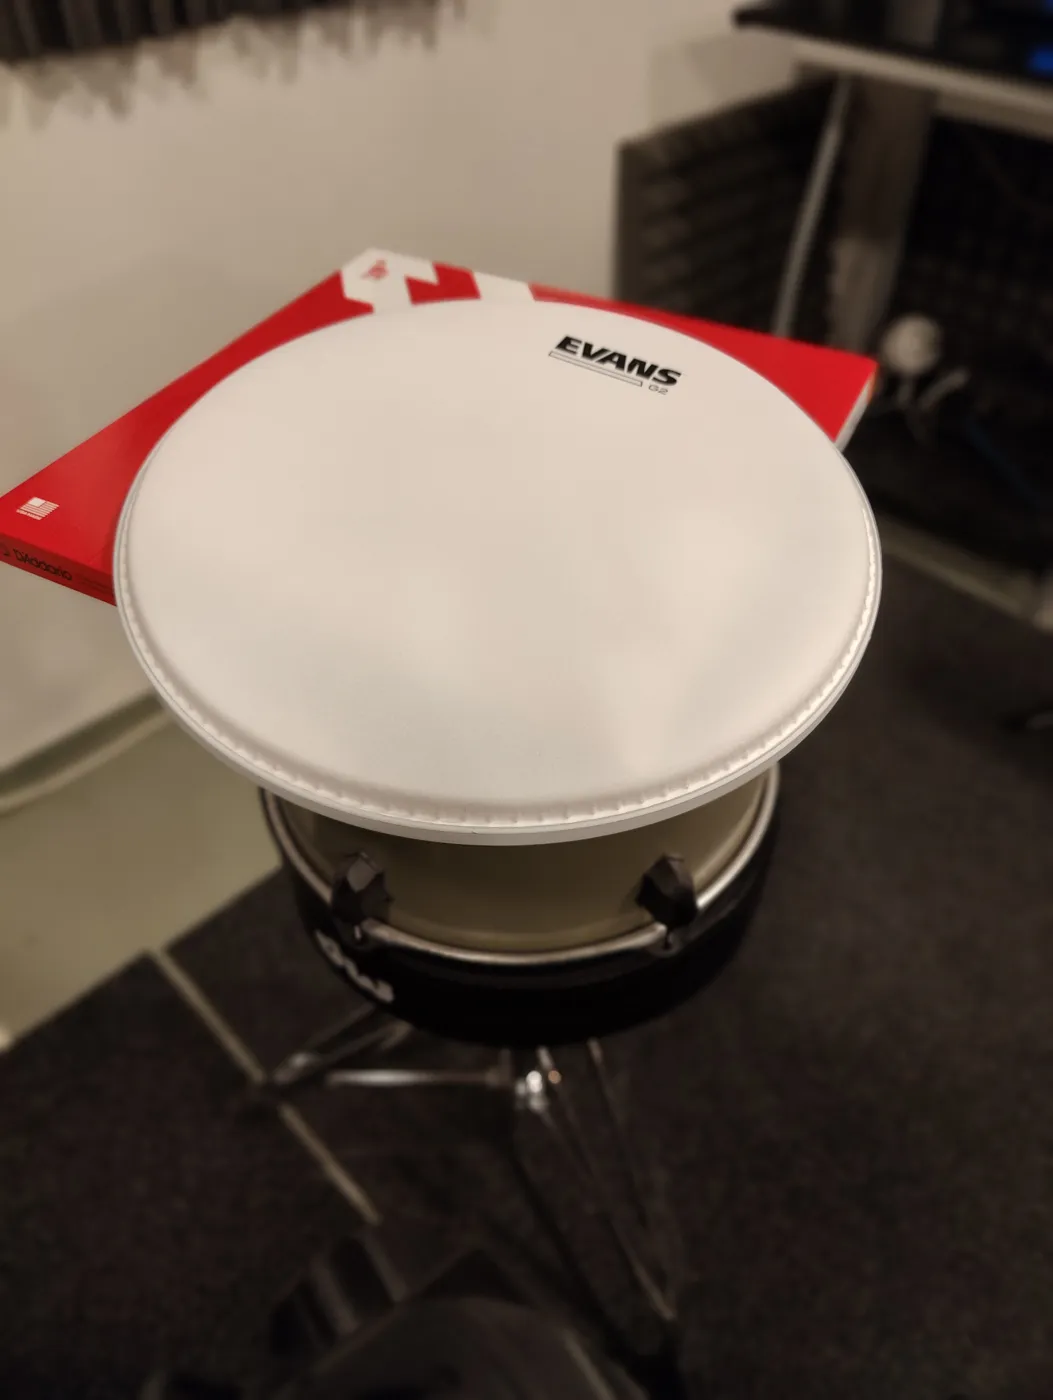
Drums have two heads, and you need to tune both of them:
- Top head / batter head
- Bottom head / resonant head
Both heads ring at their own pitch, and the tuning of both heads affects the final sound.
A drum makes its sound like this: when you hit the batter head with a stick, the air moving inside the drum makes the bottom head vibrate too. The bottom head is called the resonant head because it resonates. The resonant head has a big effect on the drum's sound, so make sure it's in good shape and carefully tuned.
With the bass drum, we talk about the batter head (the one the bass drum beater hits) and the front head / resonant head (the one the audience sees)
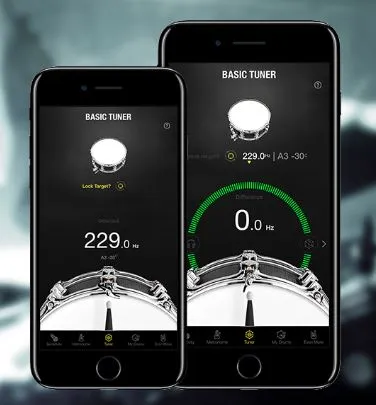
Drum pitch is measured in Hertz (Hz). What pitch you should tune a drum to is largely a matter of taste, especially for a hobbyist. The size of the drum also affects its natural "best pitch": a smaller drum naturally sounds better tuned higher. At the end of this post there are also examples of devices and apps that help with tuning if you need them.
There are guides for recommended Hz values, but since everyone's preferences are different and this post is aimed at beginners, we'll focus on tuning in general now. If you want, search for guides with something like "what hz to tune snare drum".
Let's start tuning:1. Take the drum you're tuning off its stand
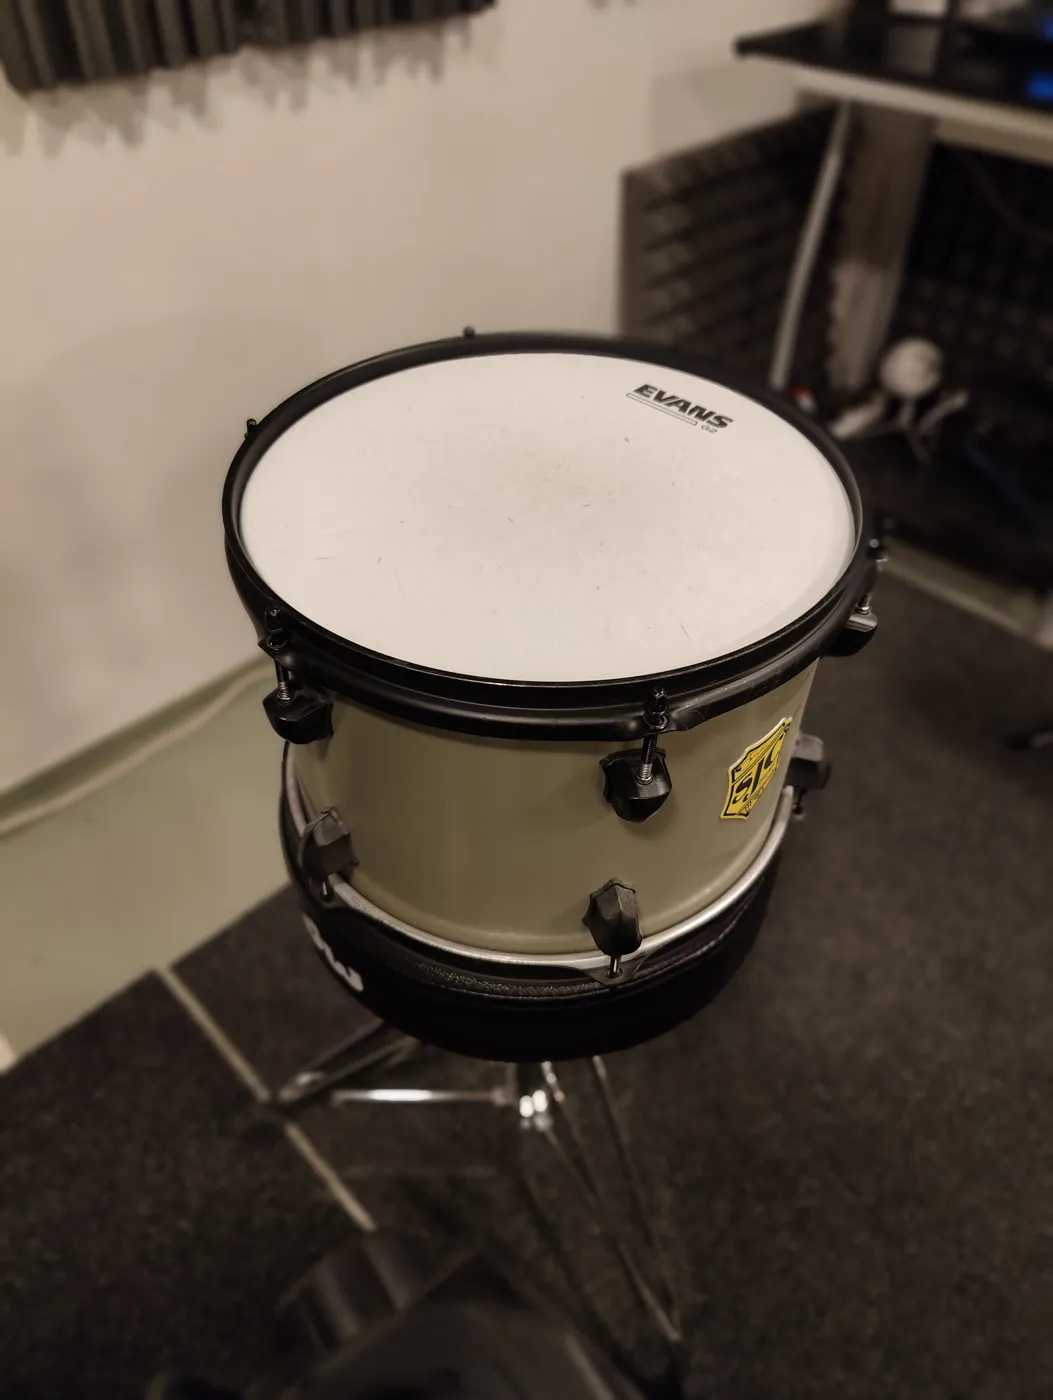
Set it down on a rug or a drum throne, for example, so the bottom head doesn't ring.
This way you can easily hear the pitch of the head you're tuning without the other head affecting it.
2. Loosen all the tension rods and clean the drum and hoop if needed
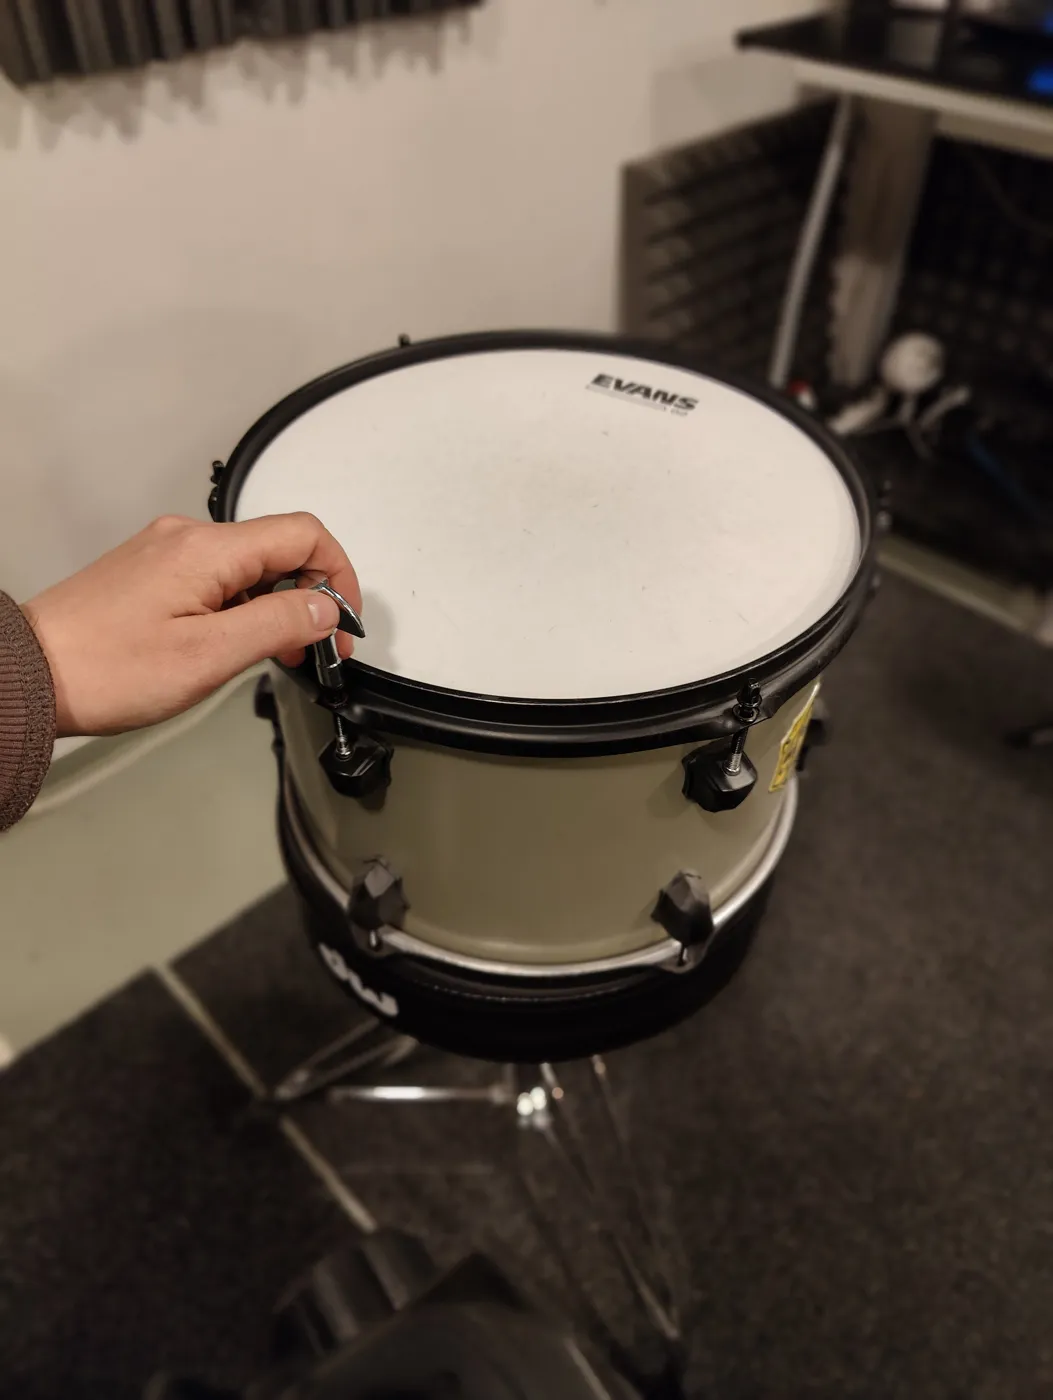
Before you can start tuning, you first have to "reset" the current tuning by loosening all the tension rods so the head goes slack. It doesn't matter which head you start with (top or bottom), but people often start with the batter head.
Loosen the tension rods on different sides of the drum a little at a time, so you don't bend and ruin the head. Of course, if the head is already worn out and about to be replaced, this doesn't matter.
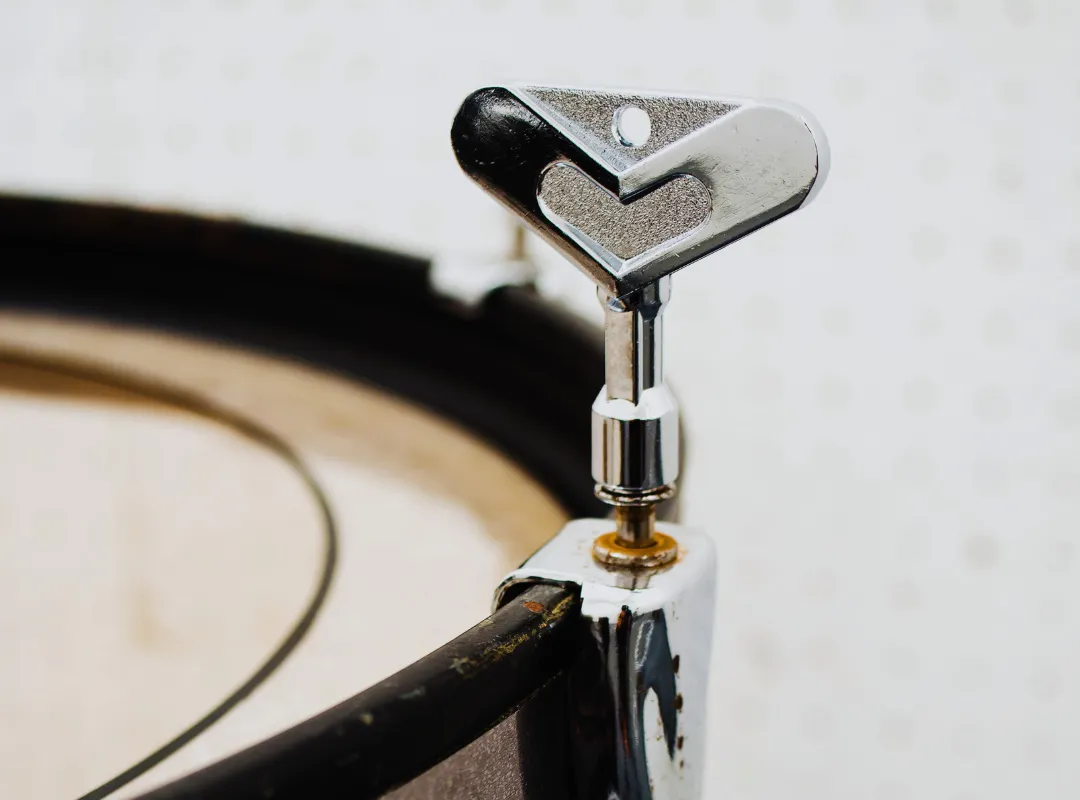
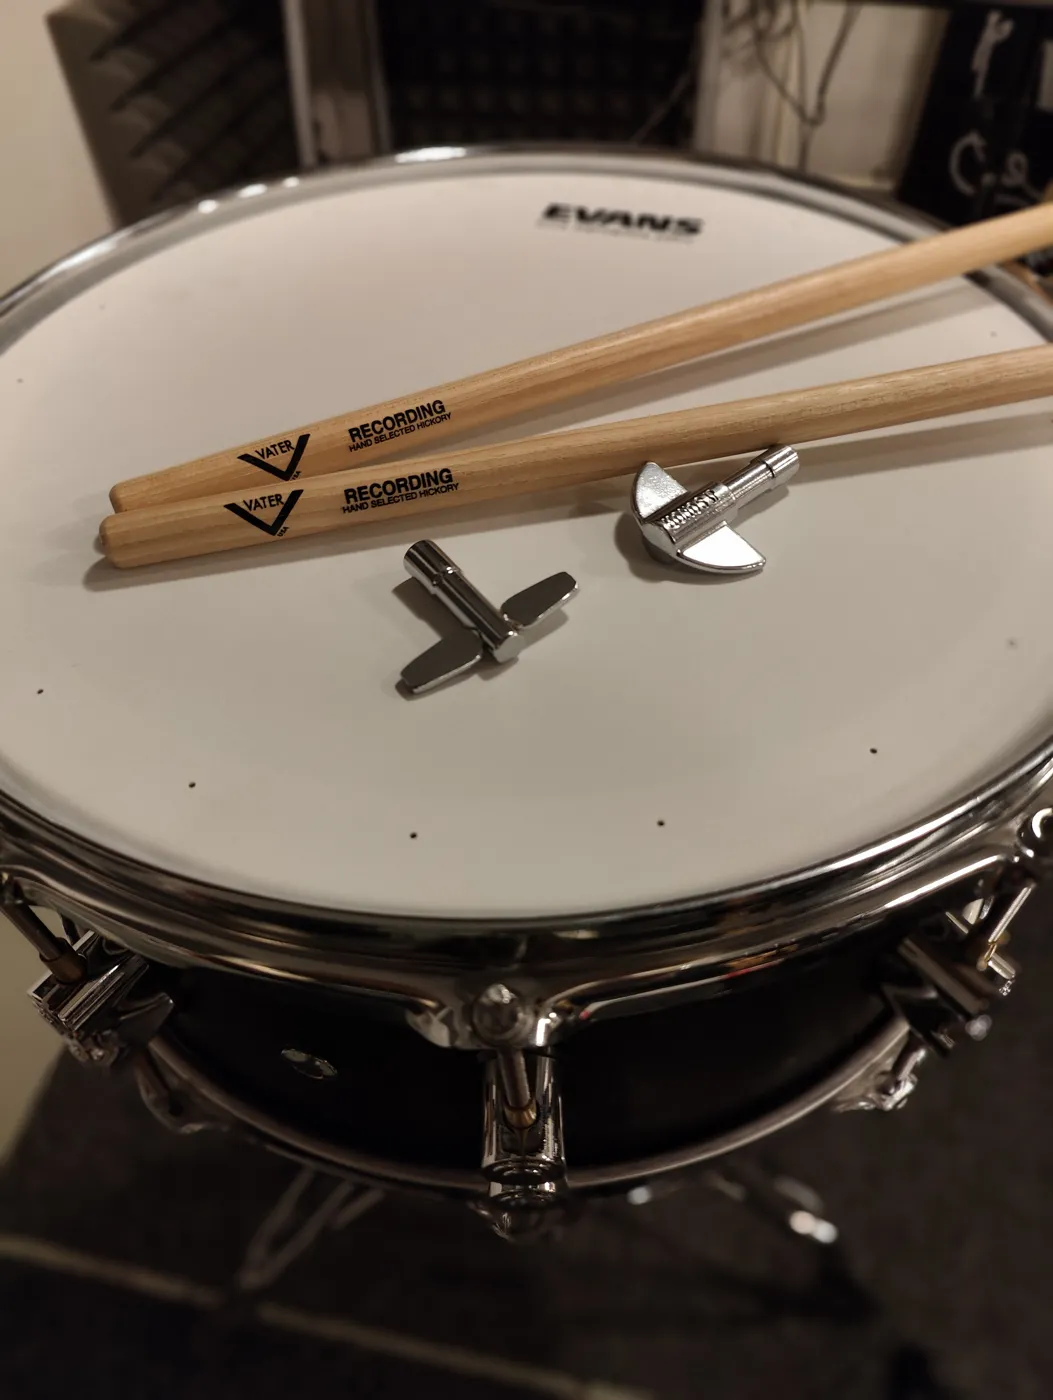
You'll need a drum key for this.
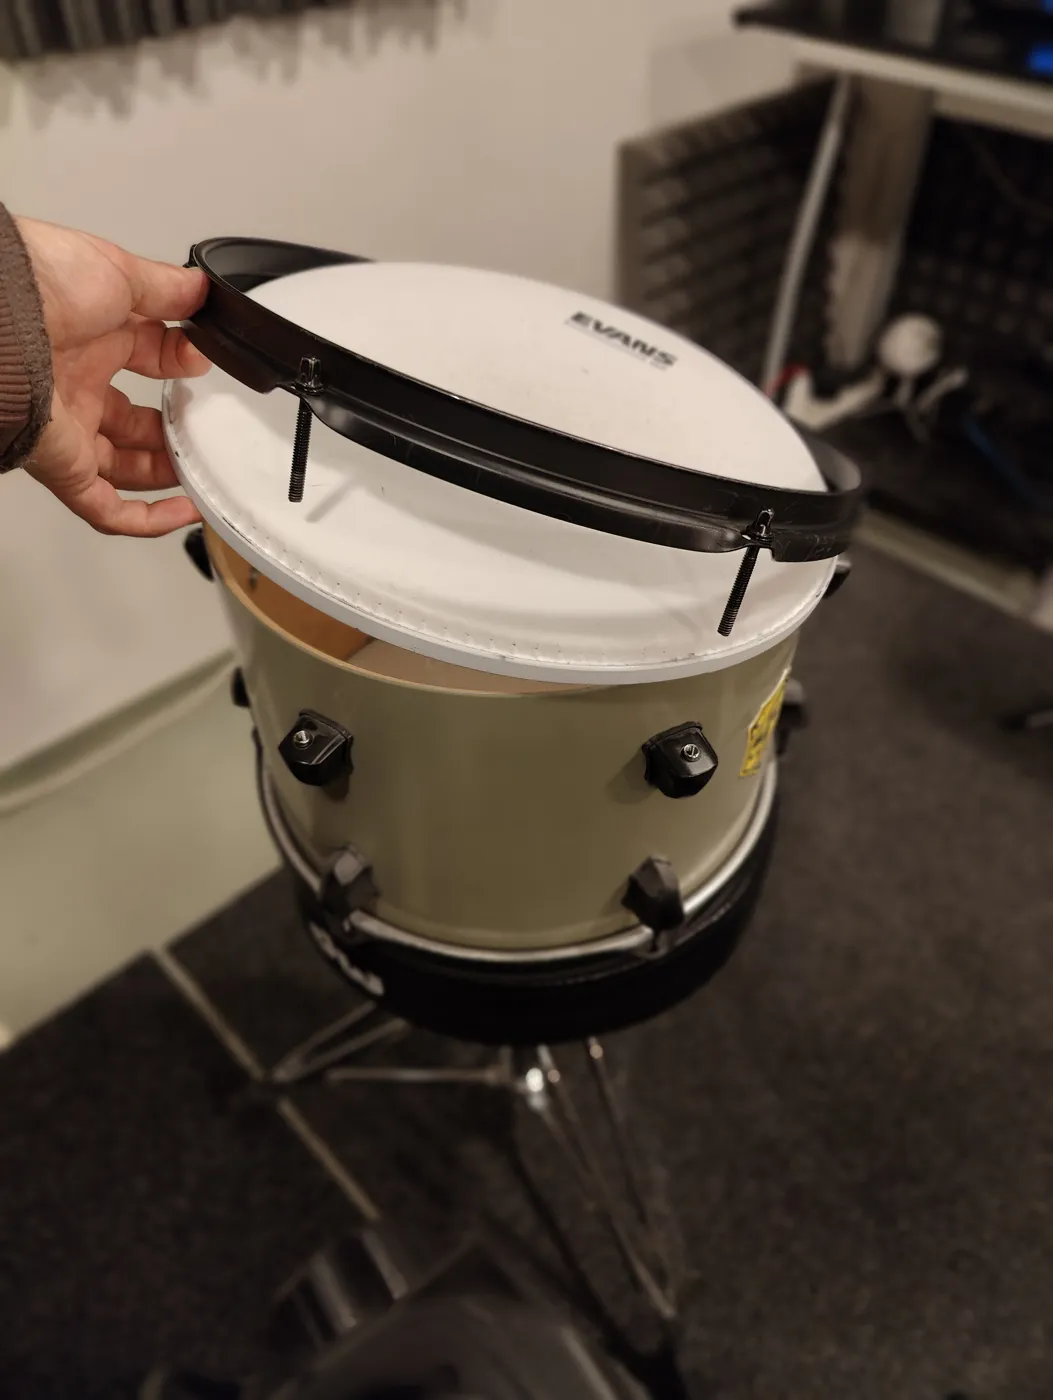
If you're putting on a new head while tuning, you can lift the drum's hoop and head off once all the tension rods are out.
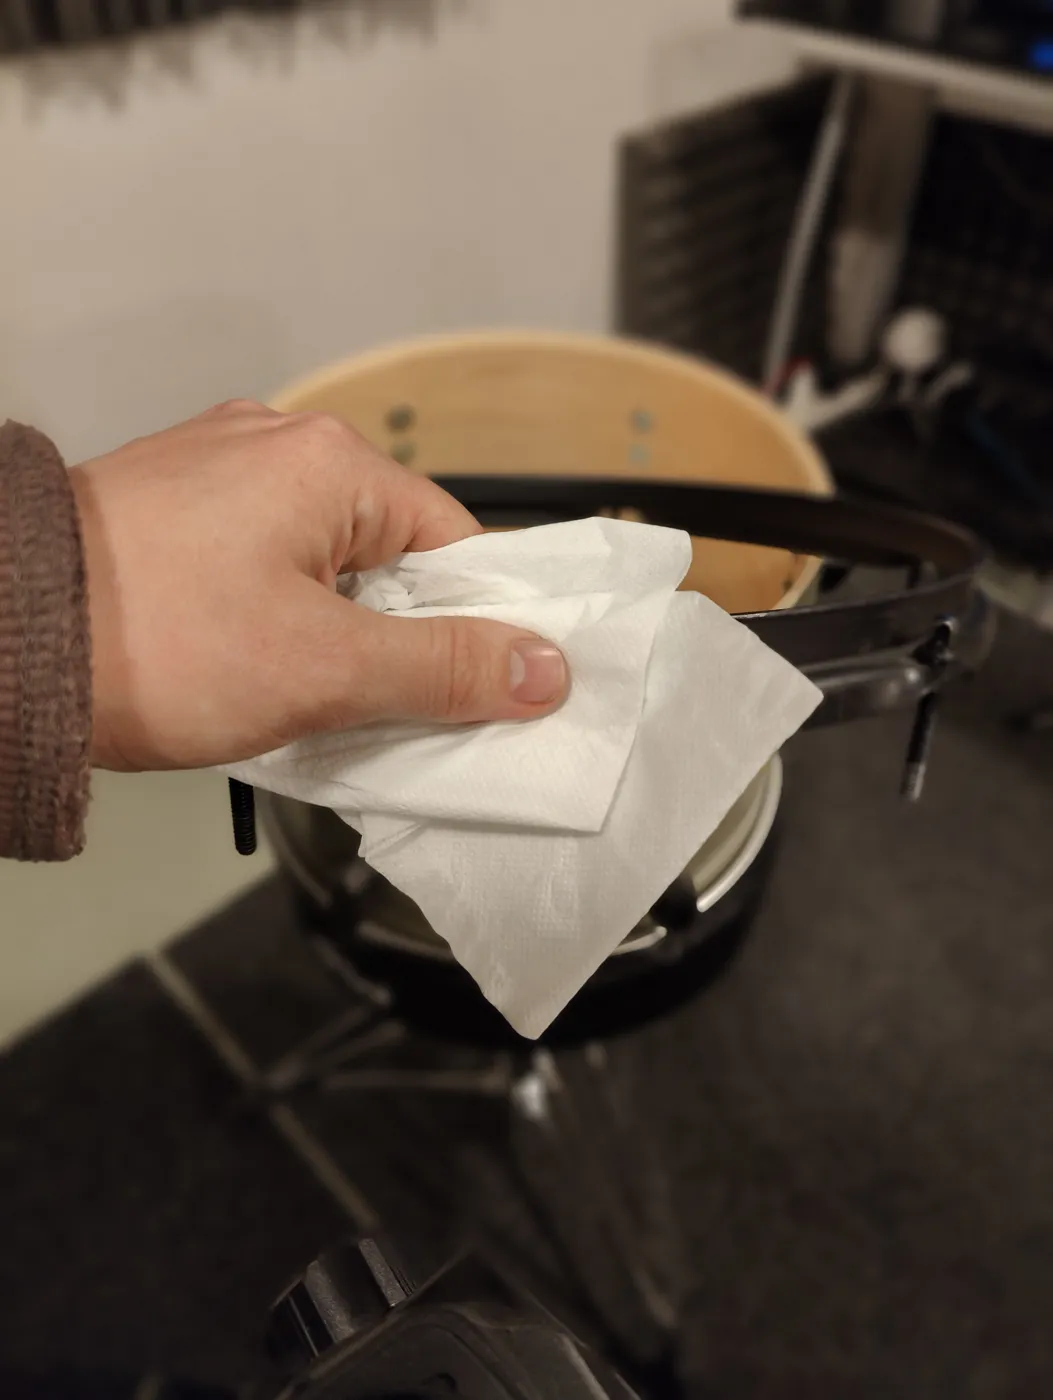
Now is a good moment to clean the hoop and the inside of the drum before tuning.
3. Start tuning with small turns
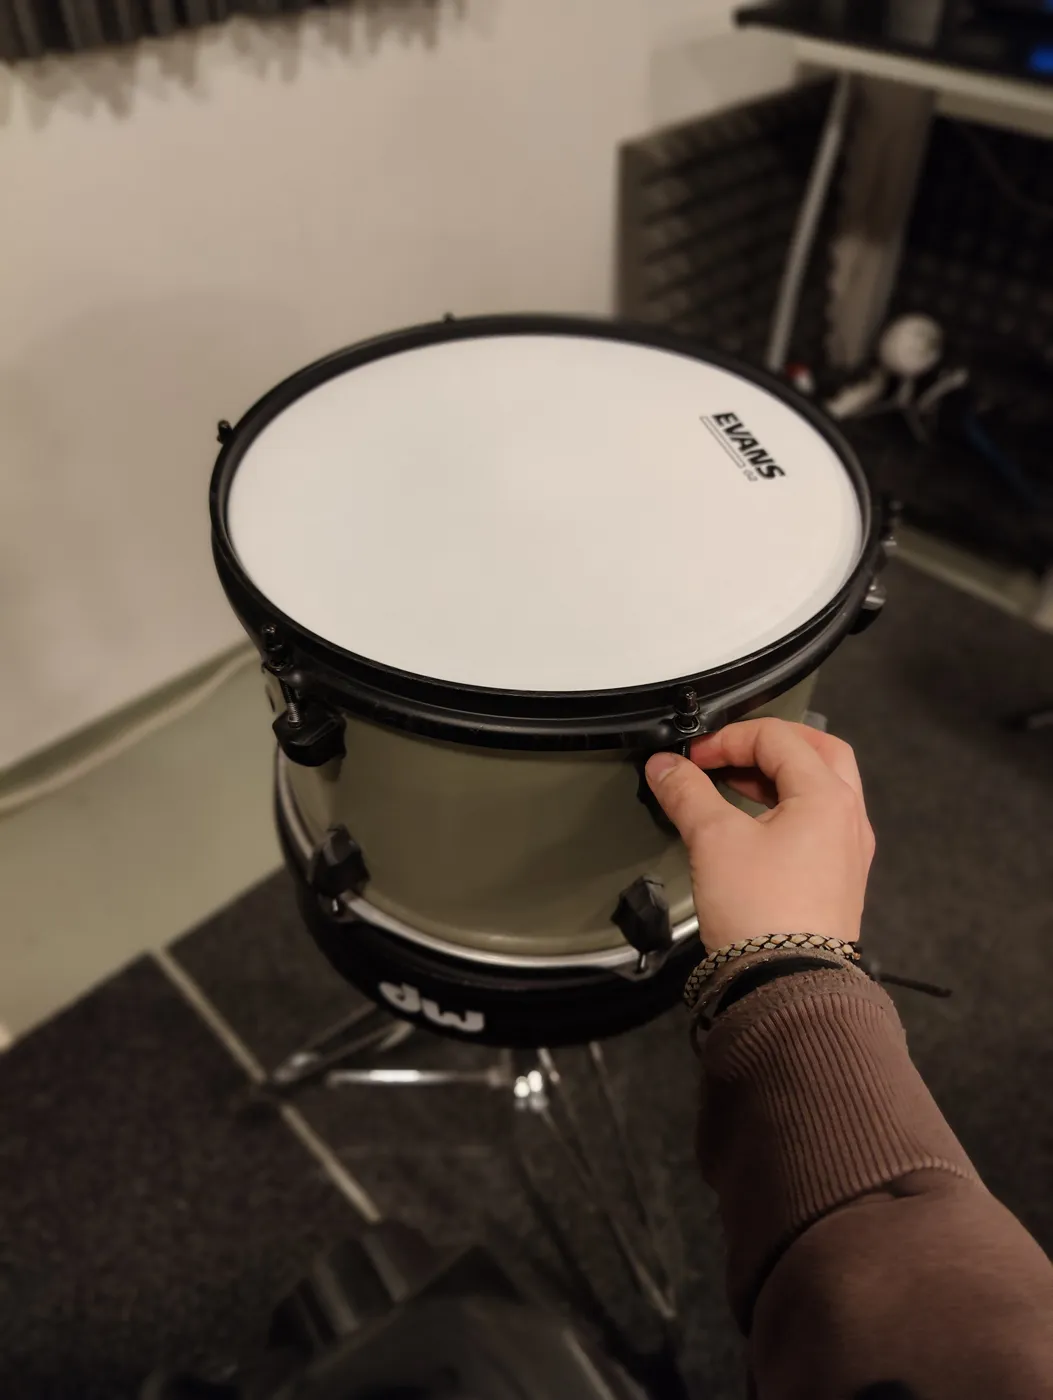
A drum is in tune when every tension rod is tightened equally and the head rings at the same pitch at every rod. When you start tuning, place the drumhead exactly in the center of the drum and tighten all the tension rods finger-tight.
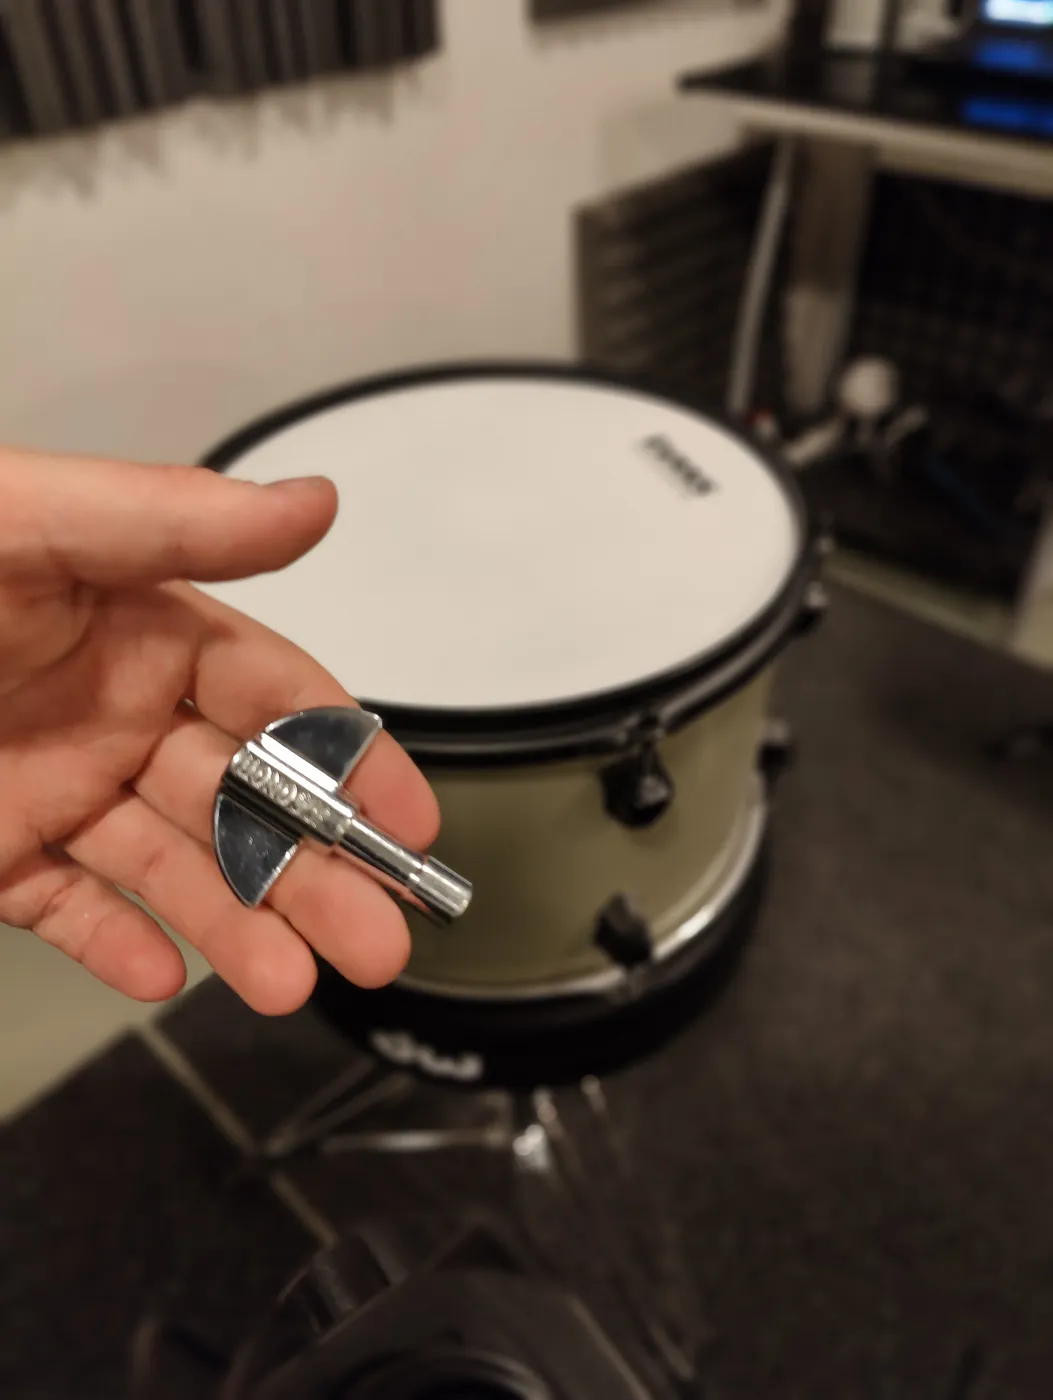
After this you can start tuning with the drum key. Use small turns and always move to the tension rod on the opposite side of the drum. Turning clockwise makes the head tighter and the sound higher, and turning counterclockwise loosens it and makes the sound lower.
Keep in mind that a drum sounds different when it's sitting on a rug or a drum throne. Remember to lift the drum up and tap it while it's in the air too.
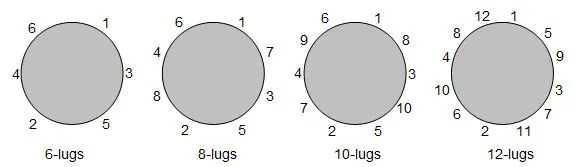
Tune the drum in the order shown in the picture. Tighten a little at a time, evenly around the drum.
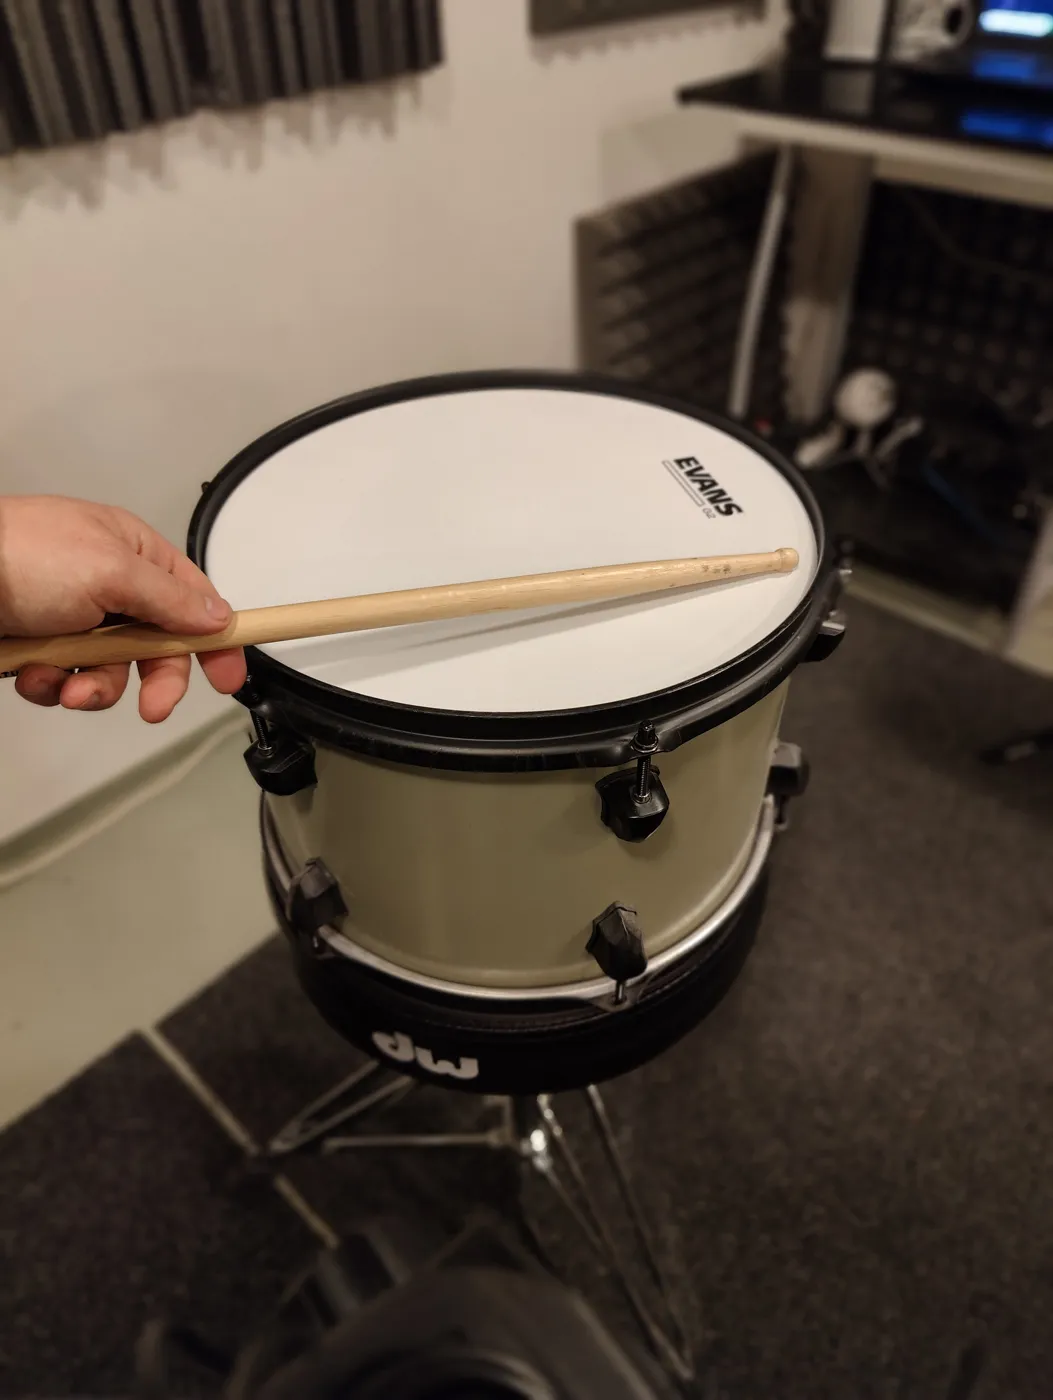
Check the pitch by tapping the head with a stick a couple of centimeters (about an inch) in from the tension rod, toward the center of the head.
Tap a few times, listen to the sound, and move to the opposite side of the drum. Try to get the tension rod on the opposite side to the same pitch.
After a few rounds of tightening bit by bit, the tuning starts to come together. Lift the drum into the air now and then and listen to the pitch.
4. Fine-tune the pitch the way you want it
This is the slowest and hardest part of tuning. Use small turns and be patient.
If you hear a wobble when you hit the drum, a WOUWWW sound, you know that one or more of the tension rods is out of tune with the others, and that's what's causing the wobble.
When you've got the head tuned the way you want and it rings evenly, it's time to flip the drum over and repeat the steps with the other head.
5. Flip the drum over and repeat the previous steps
Keep in mind that the pitch of the resonant head relative to the batter head matters.
The heads can be tuned in three ways:
- The batter head is tuned tighter than the resonant head. After the stroke, the pitch bends slightly down.
- Both heads are tuned equally tight - The drum rings the longest
- The resonant head is tuned tighter than the batter head. This shortens the drum's sustain and bends the pitch slightly up after the stroke. This is a commonly used approach.
Tune the toms so that the first rack tom (1) is tuned the highest.
Then the second rack tom (2) a little lower, and the floor tom (3) the lowest.
6. Tune the bass drum using the same order
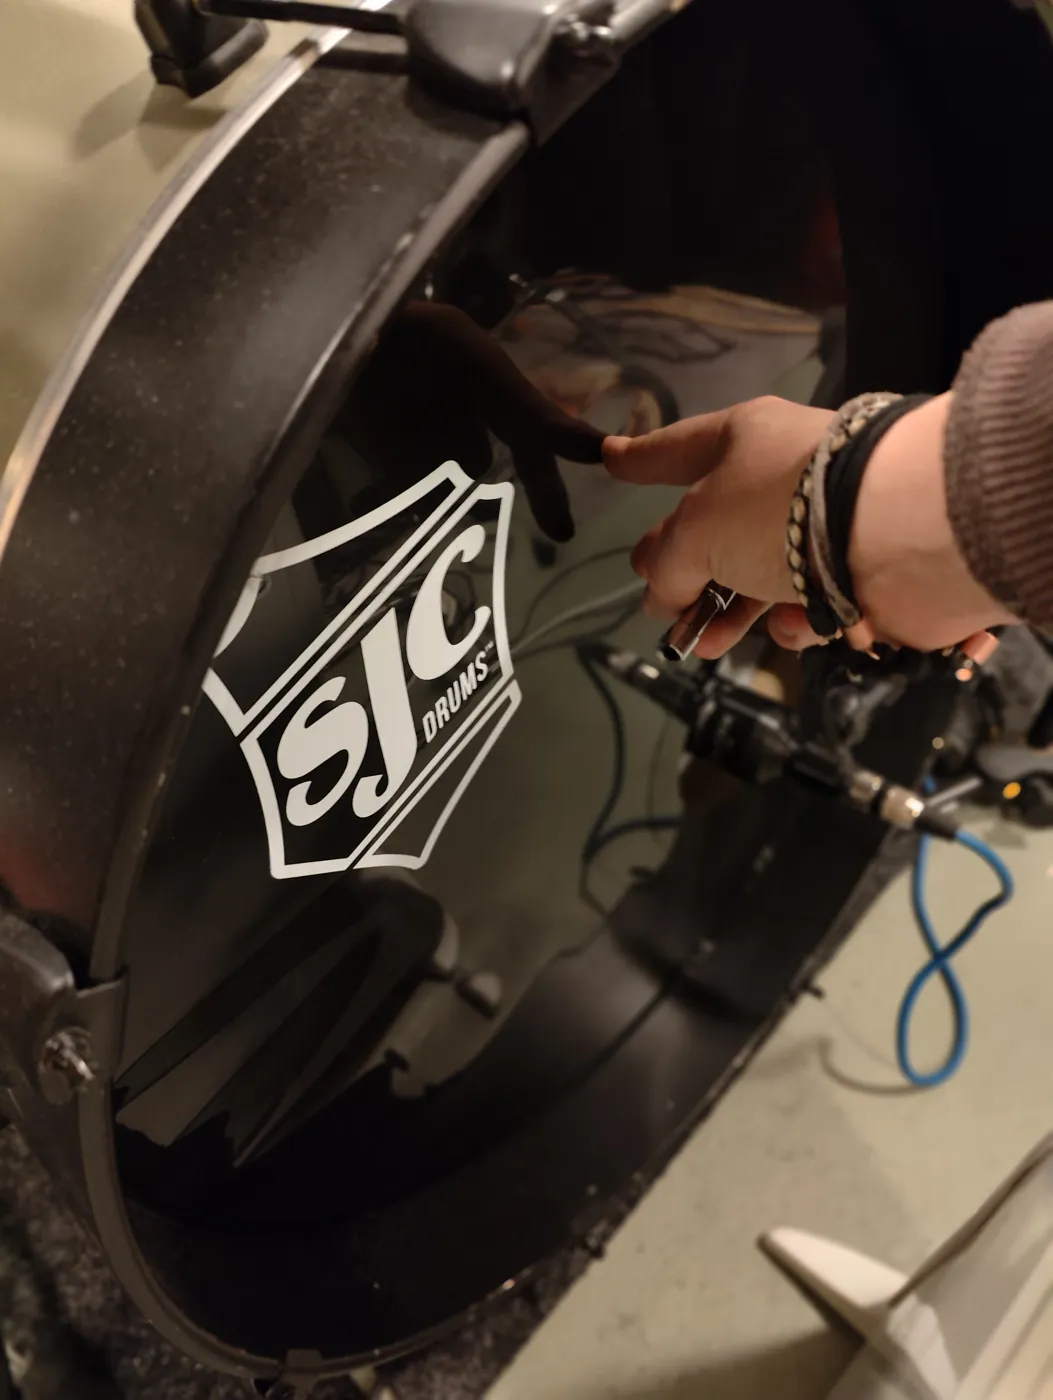
Put pillows or a blanket inside the bass drum to shorten the sustain a bit. Otherwise the bass drum can easily sound really boomy and ring for a long time, which usually isn't what you want.
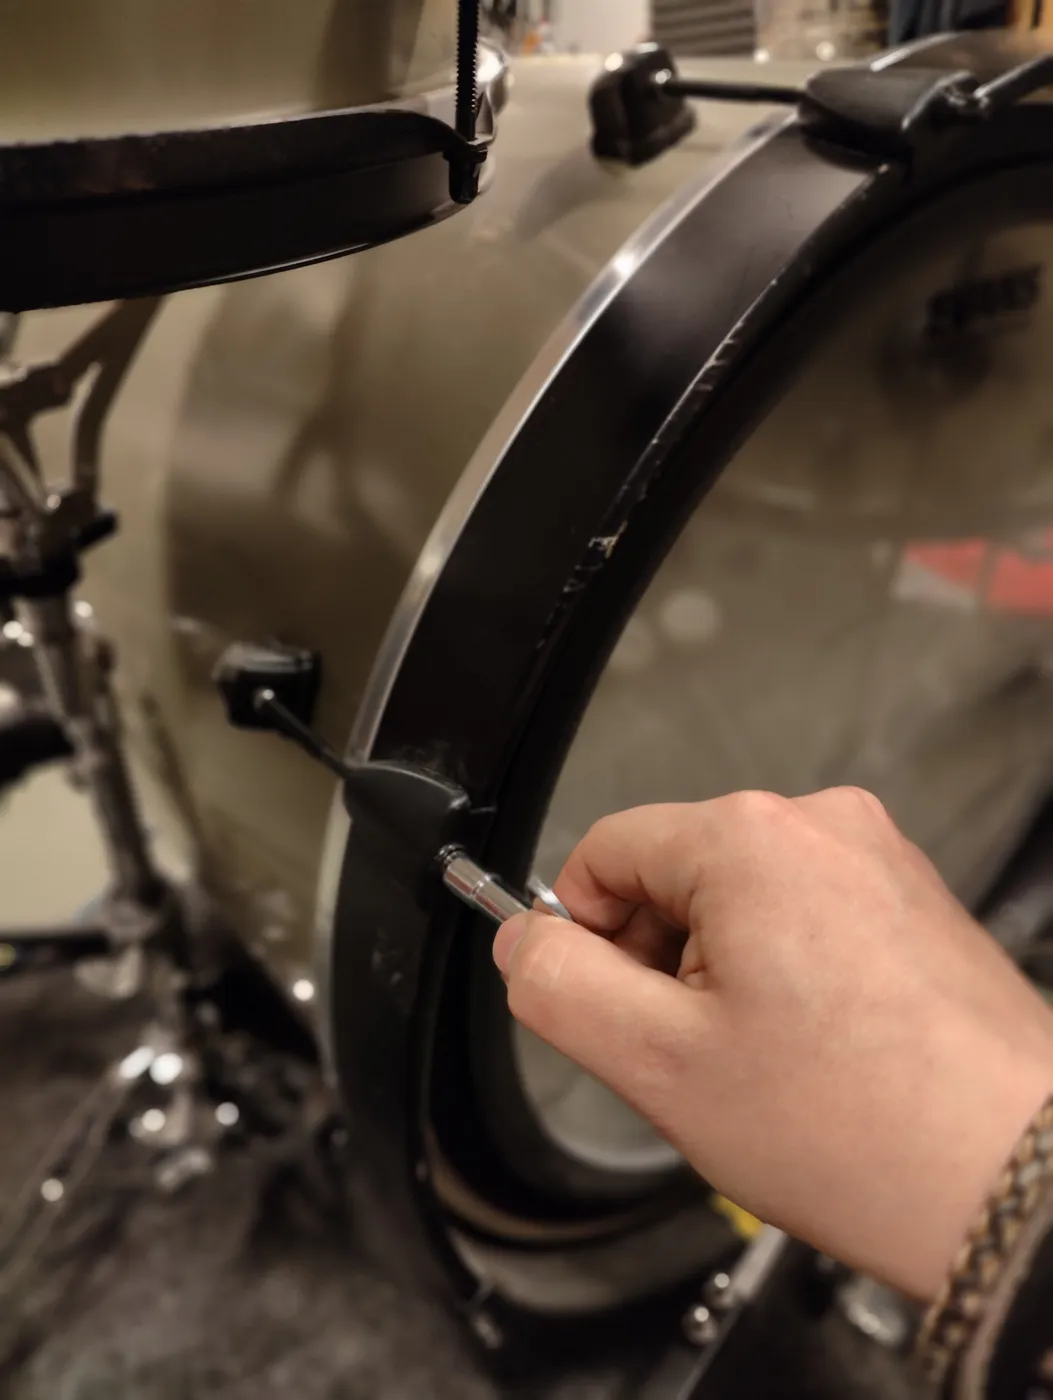
The most important thing when tuning the bass drum is to tune the batter head fairly tight, while the front head, or resonant head, can stay pretty loose.
7. Tune the snare, again repeating the same steps
Repeat steps 1-5 for both heads of the snare drum.
When tuning the snare's resonant head, it's a good idea to release the snare strainer so the wires loosen, and put a stick crosswise between the resonant head and the snare wires so the wires don't touch the head.
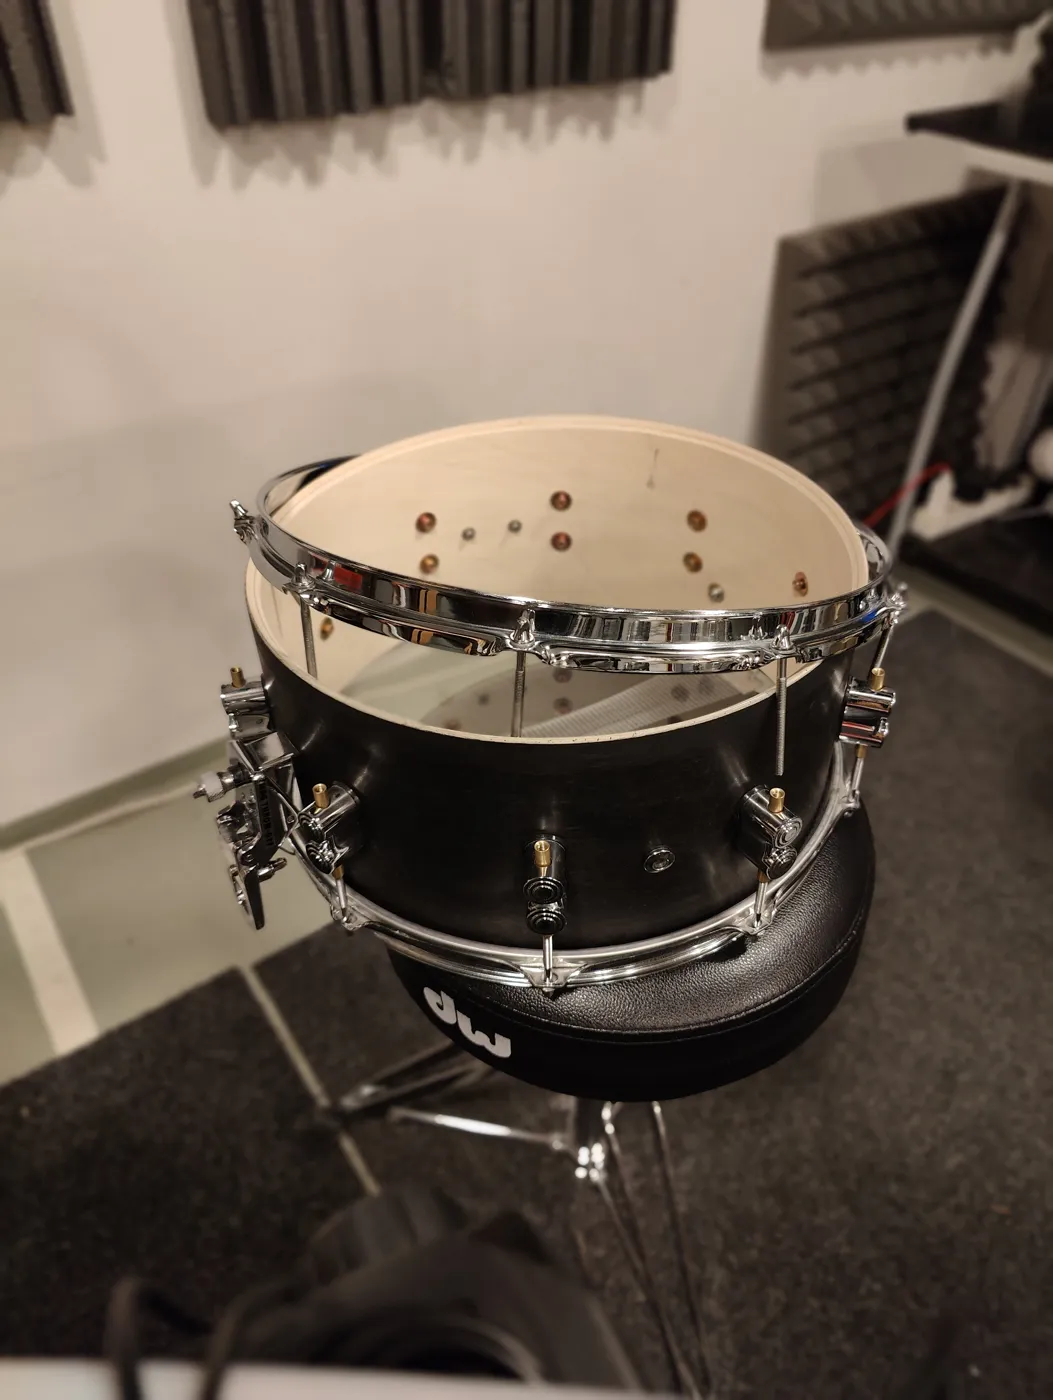
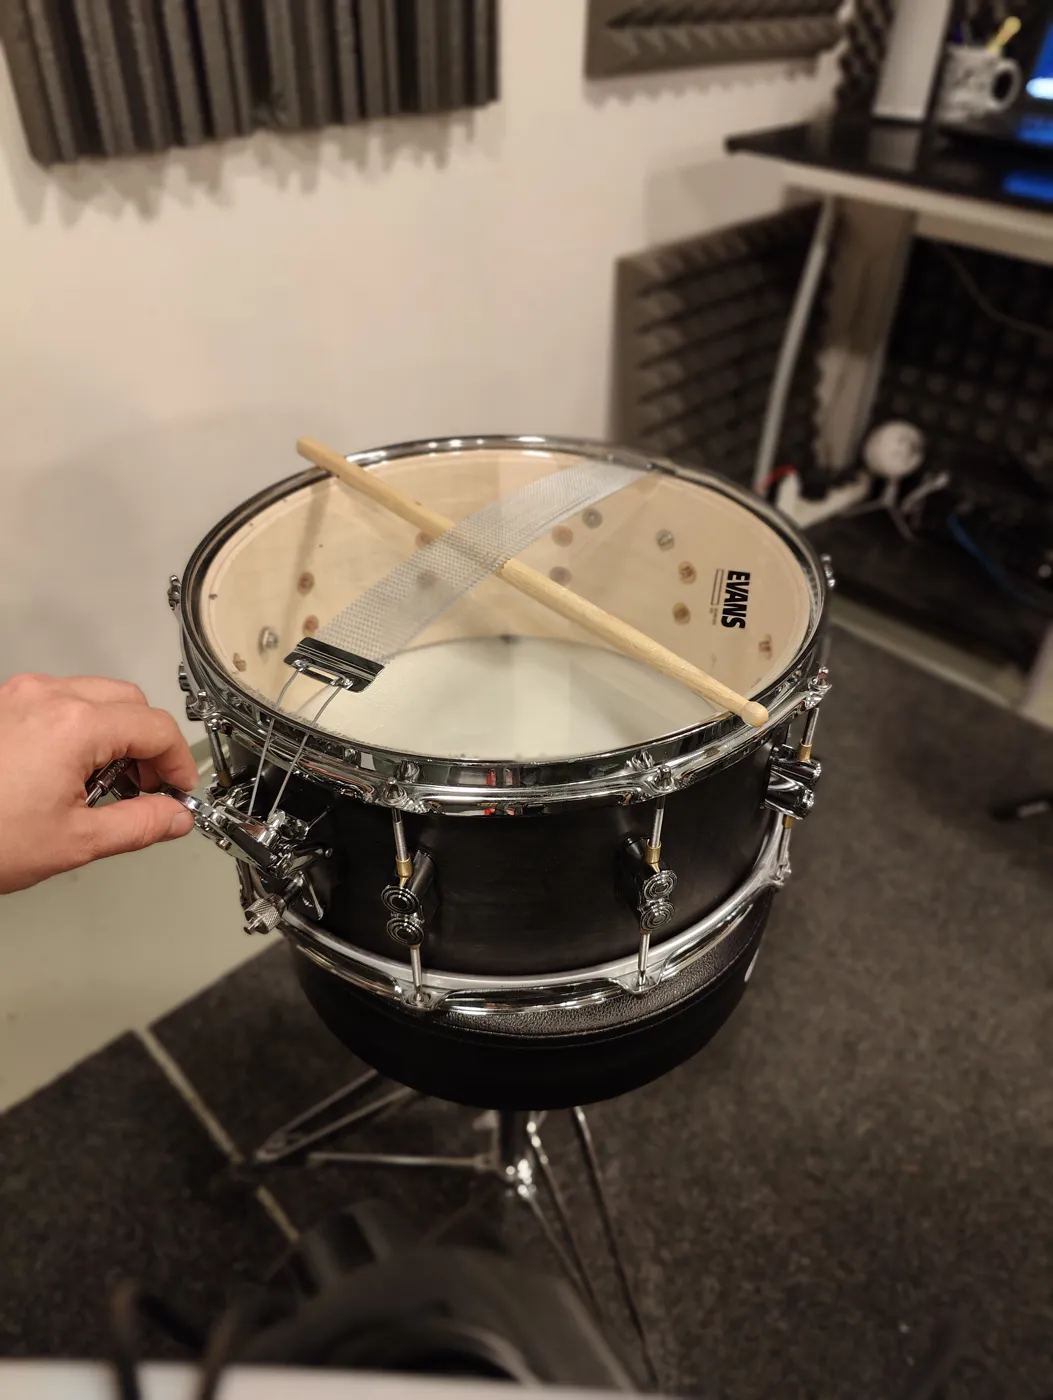
It's a good idea to tune the snare's resonant head really tight, so you get rid of extra overtones and uncontrolled rattling from the snare wires. The wires are supposed to make sound, but if the resonant head is too loose, the snare usually sounds pretty unpleasant.
Once the resonant head is tight, you can also check the tension of the snare wires. They shouldn't be as tight as possible. It's good to let them breathe a little, or the snare can easily end up sounding too choked.
Done. Check and fine-tune the tuning the next time you sit down at the drums
Unfortunately, a drum doesn't stay in tune after the first tuning. Especially if you put on new heads, they stretch as they tighten and settle in over a few days, even more so if you play the kit on the same day you tuned it.
So come back and fine-tune it again the next time you sit down at the kit.
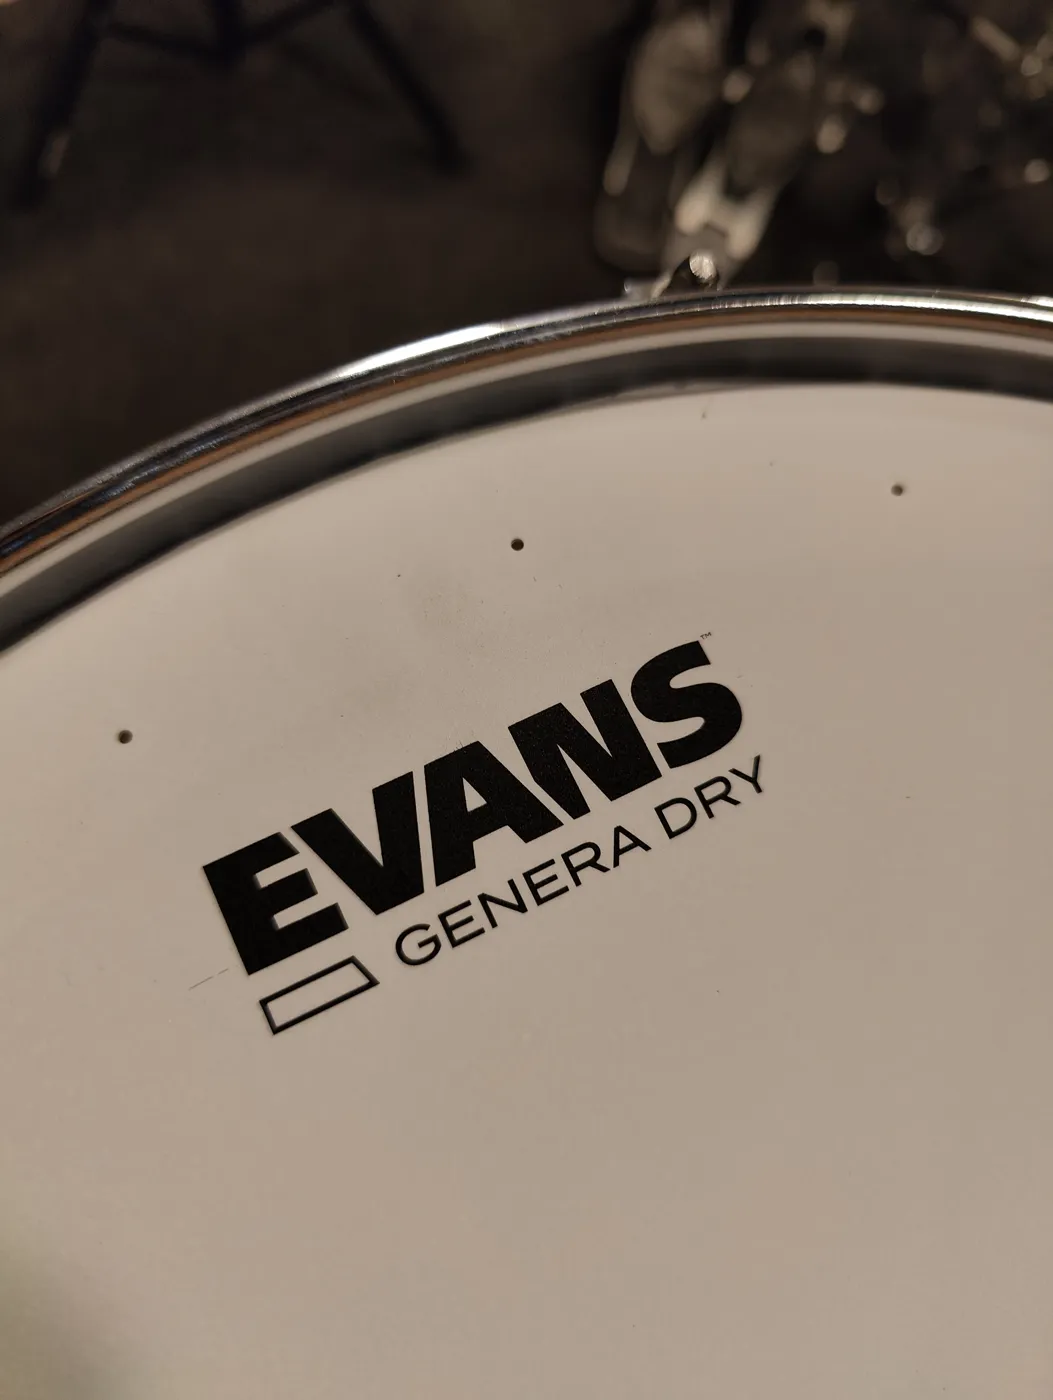
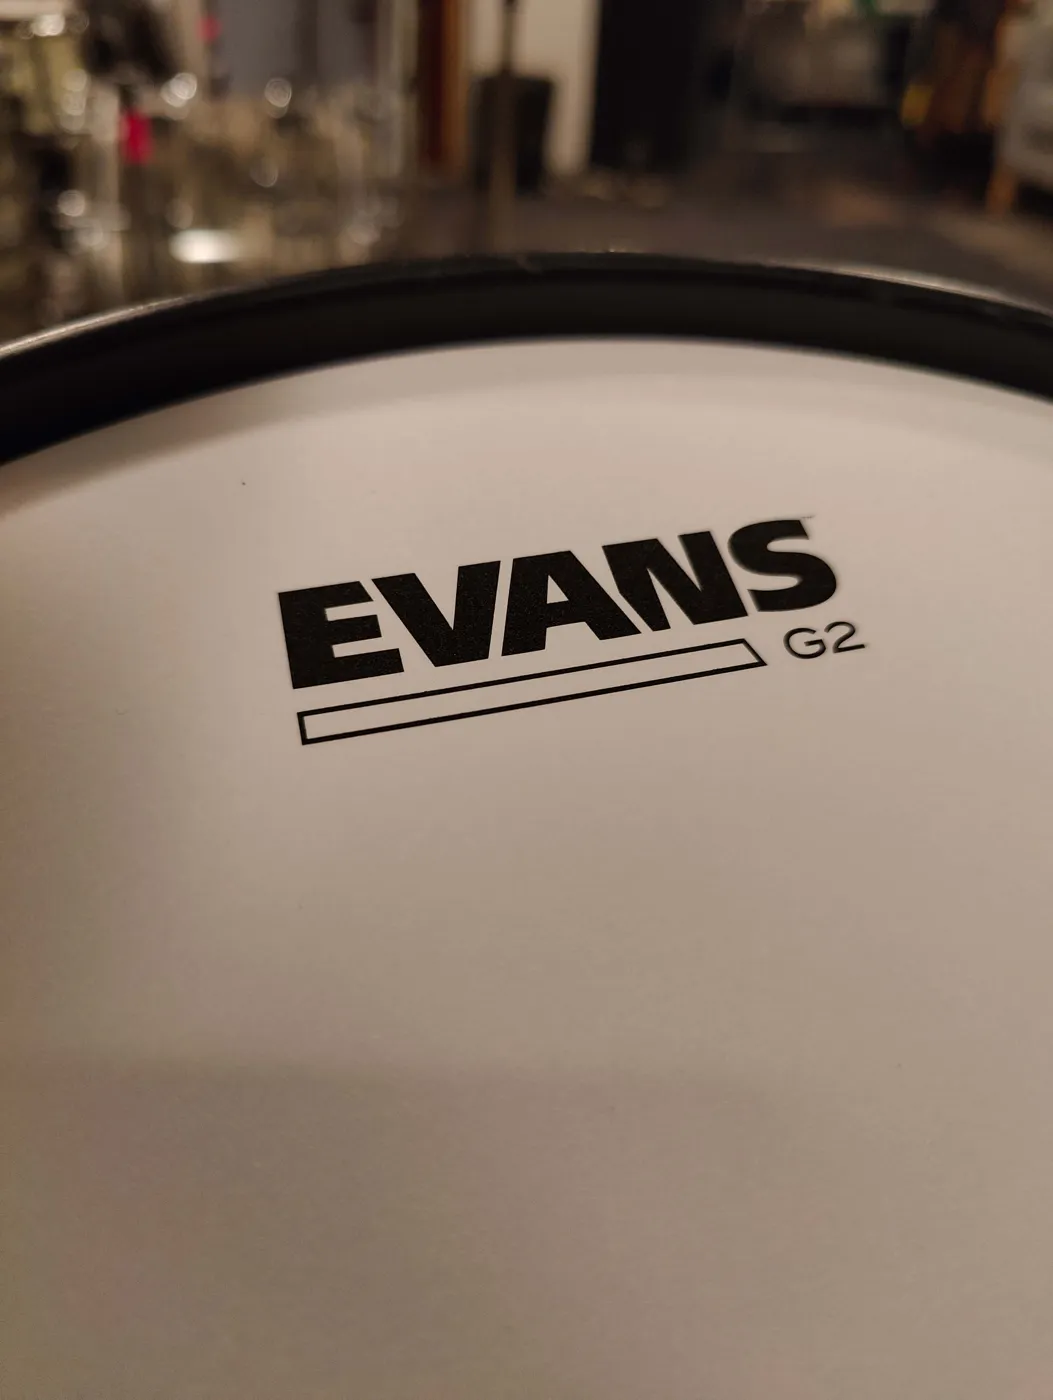
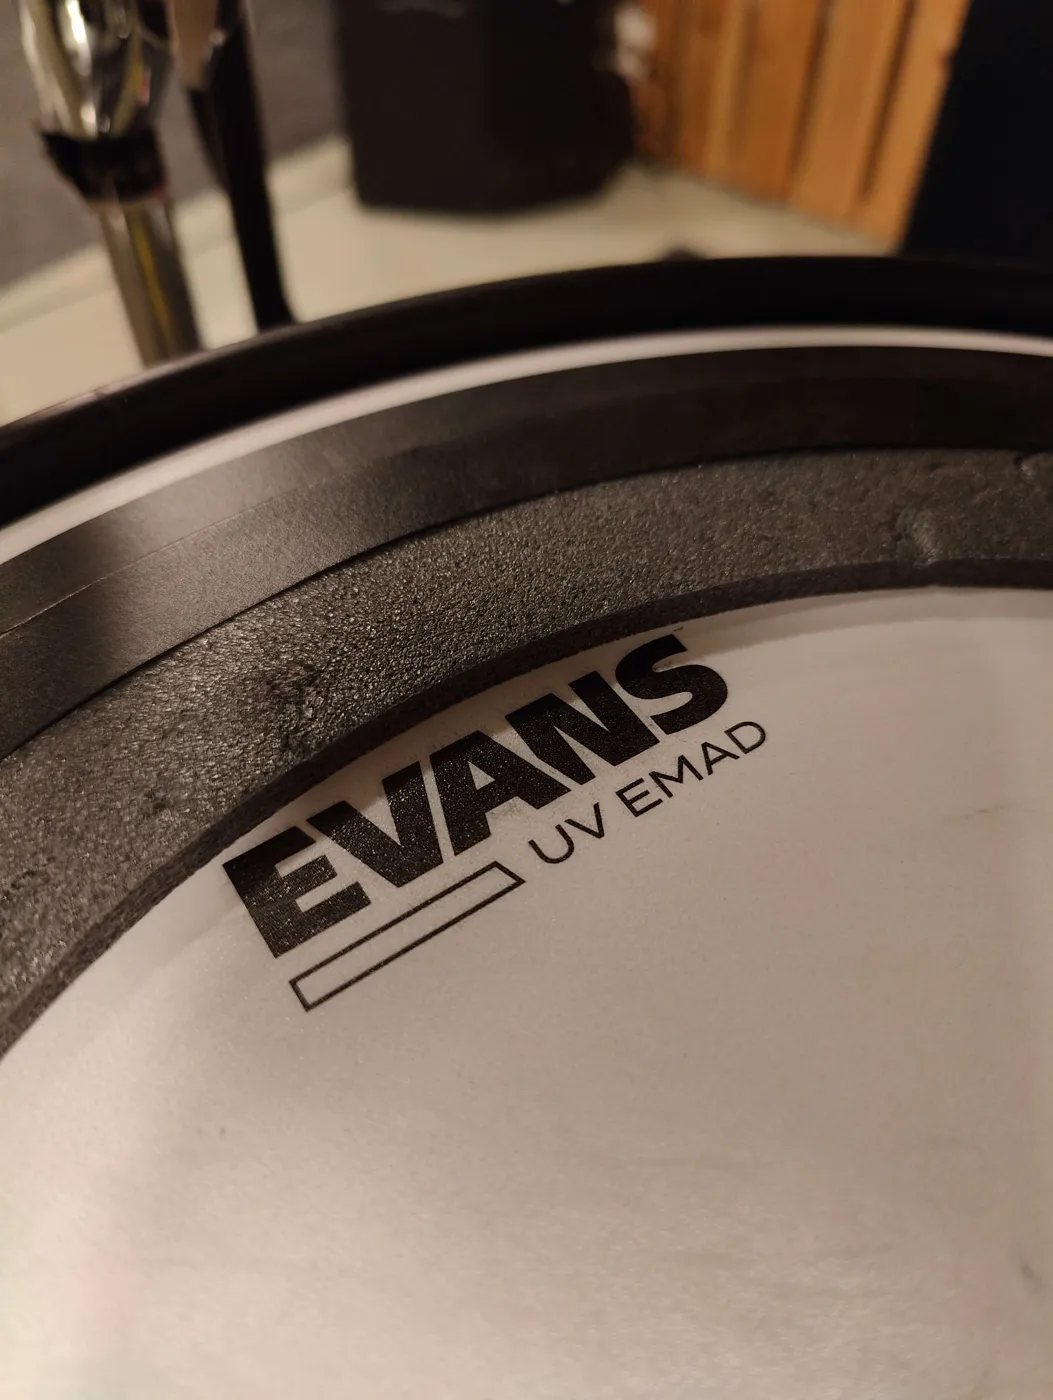
PS. If you're wondering which heads to buy, here are the ones you see in this post
Snare - Evans Genera Dry
Rack tom - Evans G2
Bass drum - Evans UV EMAD
You can find more suggestions in this post.
Tip 1: You can also use an app or a tuning device to help you tune
Tuning can feel slow and tricky at first, but after just a few times you'll start to understand better how loosening and tightening the tension rods affects the drum's sound.
Learn to tune your drums yourself. That way you'll always get the result you want in new rooms, at gigs, in a hurry, with a new kit and new heads, and so on. Tuning yourself also helps you get to know your instrument better.
There are also different devices (Tunebot) and apps (Drum tune Pro) to help with tuning. A Tunebot costs about €100 new, and the Drum tune Pro app has a 7-day trial, which gives you plenty of time to tune your drums.
Tip 2: What to do if the snare wires buzz too much when you hit a tom
A never-ending problem for anyone tuning drums is when hitting the smaller rack tom (10 or 12 inch) makes the snare wires rattle unpleasantly loud and for too long. A common reason is that one or more of the snare and rack tom heads are tuned too close to each other's pitch. So try tuning the snare higher and the tom lower, for example, and the problem should go away.