 Tasodrums

Why use a practice pad
A practice pad has lots of benefits for a drummer, no matter where you are on your drumming journey.
- A pad gives you honest feedback on how even your strokes are (time, dynamics, differences between your hands).
- The skills you learn on the pad carry straight over to the drum kit, and the exercises can also give you new ideas that work on the kit.
- On a pad it's harder to get distracted and start playing other stuff, which happens easily on the kit.
- A fairly cheap purchase -> A pad costs 20-50 euros, depending on where you buy it and the size.
- A pad fits in a small space, and you can practice on it in an apartment building or with your family around without much noise. It's easy to throw in your backpack when you head to the cabin.
What kind of pad should you buy?
Pads differ between brands, and they also come in different sizes.
The most common pads are 6, 10 or 12 inches. I recommend going bigger than 6 inches, because the playing area is larger, which helps especially at the start. A bigger pad is also easier to set on top of a snare drum or on a snare stand.
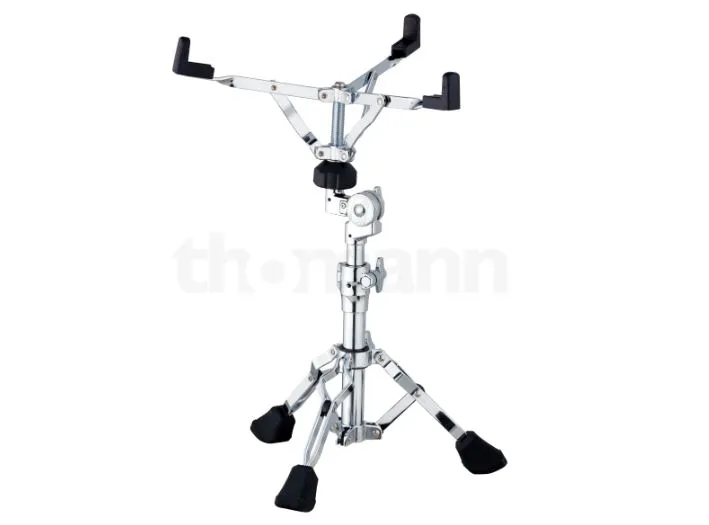
Here are two popular, good options for players of any level, plus an example of a snare stand, which is definitely worth getting too. If you live in an apartment building, I recommend the Reflexx pad, because it's very quiet. It's fairly expensive, but it lasts for years in perfect condition and keeps some resale value too.
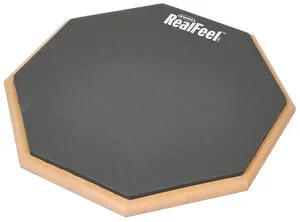
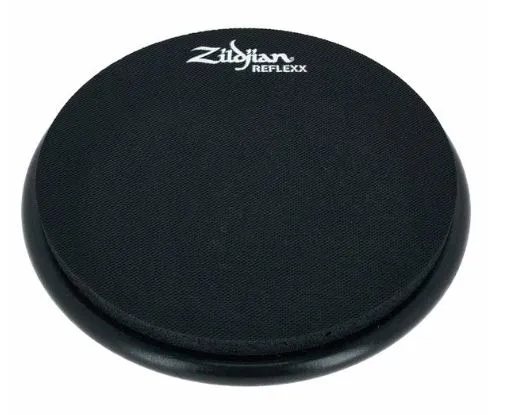
Watch the video for tips on setting up and playing the pad
5 practice pad exercises for beginners
Now that you know the benefits of pad practice and what kind of pad could be a good buy, it's time to get to today's topic: the exercises.
1: Rebound
One of the most important things in stick technique is learning rebound, which basically means the bounce.
Rebound lets us focus only on striking down, and the stick comes back up off the surface by itself after the stroke. That way we don't have to play both up and down, so we can play not only faster but also more efficiently and with less effort.
It's like dribbling a basketball. We don't play basketball by dropping the ball on the floor and picking it back up. The same goes for rebound. Practice rebound by hitting the pad one stroke at a time and trying to get the tip of the stick to come back up. This takes practice with the stroke, the position and motion of your wrist, and how you use your fingers. If you squeeze the stick too hard, there's no room for rebound and it gets choked.
Watch the video for an example of a rebound stroke. The actual exercise starts after the 5-minute mark.
2: One-handed eighth notes
Once you start to find the rebound, you can move on to the next exercise, which builds a little on the previous one. The exercise is very simple. Play one bar of 1/8 notes, or eighth notes, one hand at a time.
That means 8 strokes per hand and then switch. See the example below. You can play the exercise with the gray play button, and you can also change the tempo by clicking the two arrows!
- R = Right hand
- L = Left hand
At a slow tempo it's good to keep practicing the rebound stroke.
Raising the tempo, on the other hand, lets you build the speed of your hands one hand at a time. This can be a bit frustrating at first, especially with your weaker hand, but it's a really simple and effective exercise.
3: Combining different notes
Next, again building on the previous exercise, let's work on improving the speed of your hands.
This exercise combines 1/8 and 1/16 notes. It's two bars long, and you play it over and over again.
The first bar is played as eighth notes and the second as sixteenth notes, both with alternating hands. See the example below.
4: Accents
I found a good, precise video example for the next exercise.
In this exercise you learn to mix smaller / normal strokes with accents (stronger strokes). This adds variety to your playing and develops control.
The exercise is played with alternating hands as 16th notes, accenting different 16th notes.
See the exercise being played at 1:35.
5: Stickings
In the last exercise we get to a changing pattern.
This exercise combines stickings from the earlier exercises:
Bar 1: half a bar of right-hand strokes and half a bar of left-hand strokes (as 1/8 notes)
Bar 2: half a bar of alternating 16th notes and half a bar of single-hand strokes as 1/8 notes.
Since the second bar ends with right-hand strokes, the second half of the exercise (bars 3–4) is played "left hand lead", leading with the left hand. It's really important to practice leading with the left hand too.
Watch the exercise on video. It starts at 1:30.
With pad practice (like with drumming or practicing any other skill, really), remember to be patient. Speed is never the main goal. It's the result of good technique and good sticking practice.
Bring your pad to your practice sessions and do a short warm-up of a few minutes a couple of times a week. You'll notice the difference soon! You can come up with more exercises yourself, or look for similar videos on YouTube like the ones you just saw.